
Do you want to create a home service booking platform with multiple locations? In this article, we are going to show you how to do it with the Bookster plugin.
Managing a home service business becomes more challenging as you expand to multiple locations. Handling bookings, coordinating staff, and ensuring availability across different service areas can quickly get complicated without the right system in place.
A well-structured booking platform helps streamline operations, improve customer experience, and keep everything organized.
In this guide, you will learn how to create a home service booking platform with multiple locations using WordPress and Bookster, from setting up services and locations to managing staff and delivering a smooth booking experience for your customers.
Before going further, let’s see why your home service business needs an online booking system.
Table of Contents
Why Home Service Businesses Need an Online Booking Platform
Managing bookings manually can slow operations and miss opportunities, especially when your business operates across multiple locations. An online booking platform helps streamline scheduling, improve customer experience, and keep everything organized in one place.
- Allows customers to book services anytime without calls or back-and-forth communication
- Helps manage multiple locations and service areas more efficiently
- Reduces missed bookings with automated confirmations and reminders
- Improves customer experience with a fast and simple booking process
- Makes it easier to assign jobs based on location and staff availability
- Reduces administrative workload and manual errors
- Supports business growth by handling increasing booking volume more effectively
Bookster: An Introduction
Bookster is a powerful WordPress booking plugin designed to help businesses manage bookings, appointments, and services directly from their website. It offers a flexible and scalable system that works well for home service businesses, especially those operating across multiple locations.
With Bookster, you can create services, manage staff, assign availability, and handle bookings through a centralized dashboard.
It also supports features such as multiple locations, automated notifications, and customizable booking forms, making it easier to deliver a smooth, professional booking experience. Its modular approach allows you to extend functionality as your business grows, without adding unnecessary complexity.
How to Create a Home Service Booking Platform with Multiple Locations
We’re going to use Bookster and its Multiple Locations add-on.
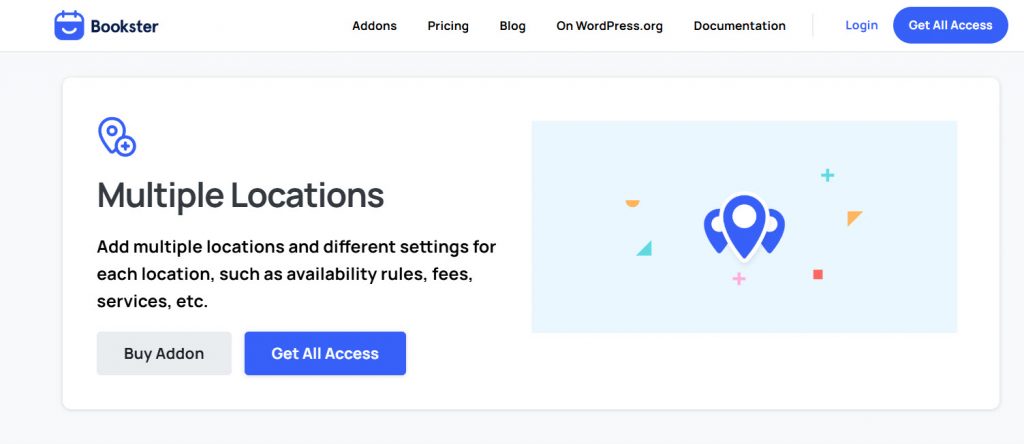
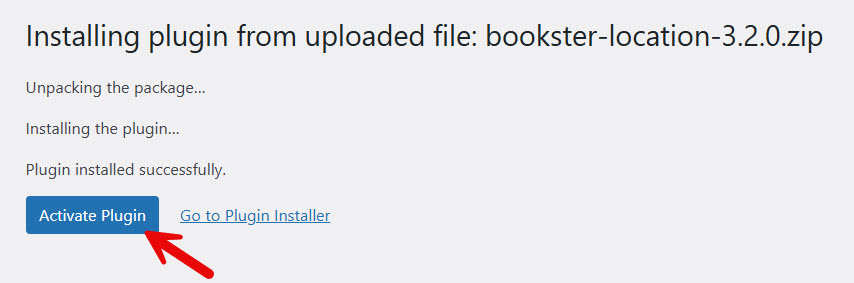
First thing you need to do is install the Bookster WordPress plugin on your site. Once you have done that, you can install and activate the Multiple Locations add-on on your website.
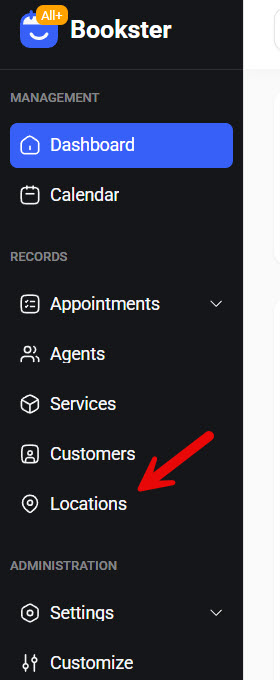
After activating the plugins, open the plugin’s settings. You can see the settings on the left-hand side.
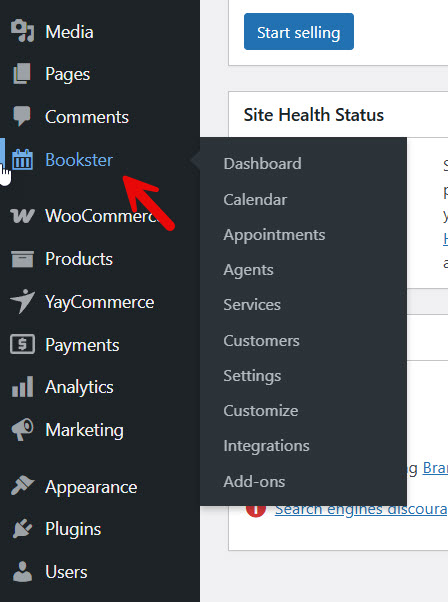
Let’s start with the customization.
1. Setting Up Multiple Locations
Since you have activated the Multiple Locations add-on, you can see the locations option on the Bookster settings.
By default, the plugin will add a location.
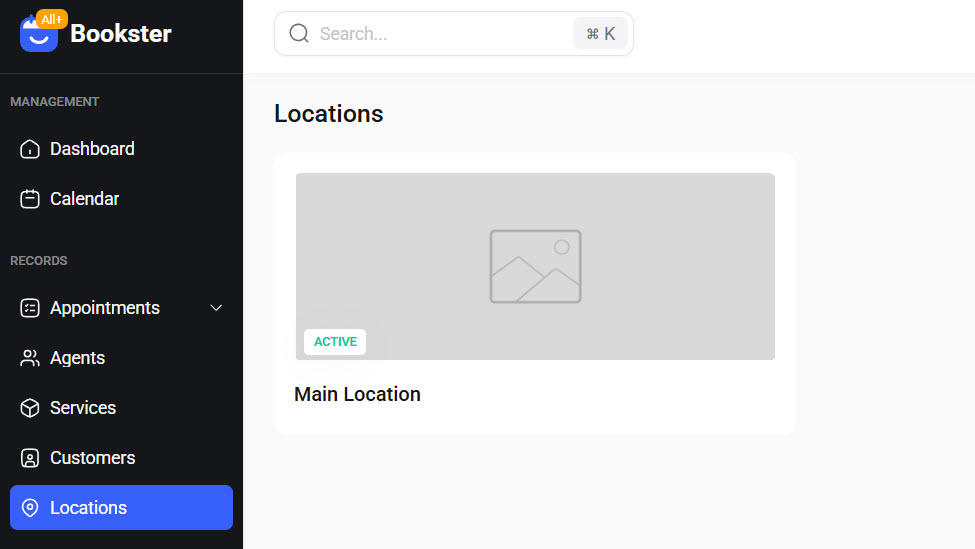
This location can be edited or deleted. In our case, we will edit it and turn it into our main branch. You can see fields to
- Upload an Image
- Store Name
- Phone Number
- Address
- Map Link
- Active/ Inactive status
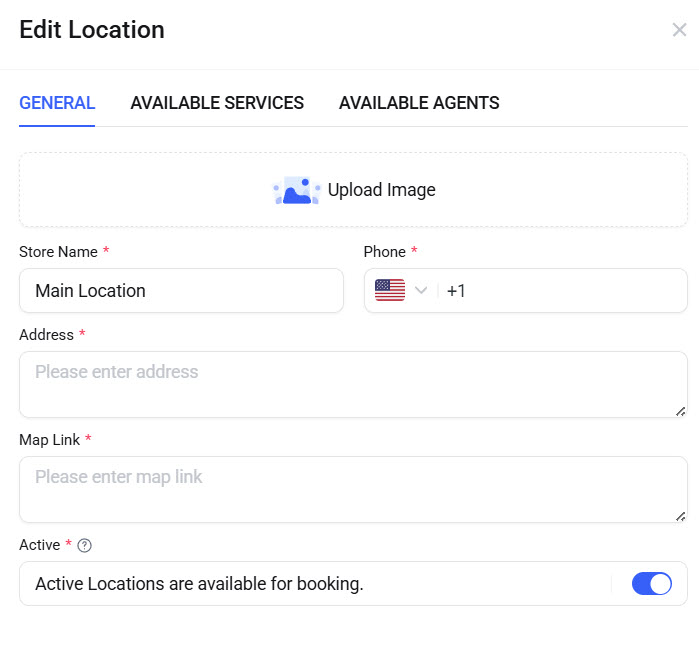
There are also services and agents available. Since we haven’t added services or agents, we can skip that part. We spent a little time editing the default listing and finished it.
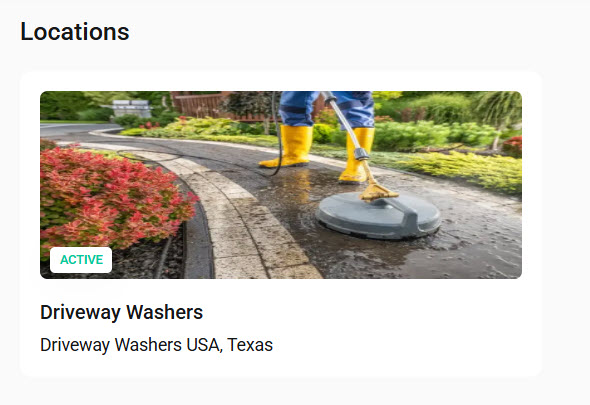
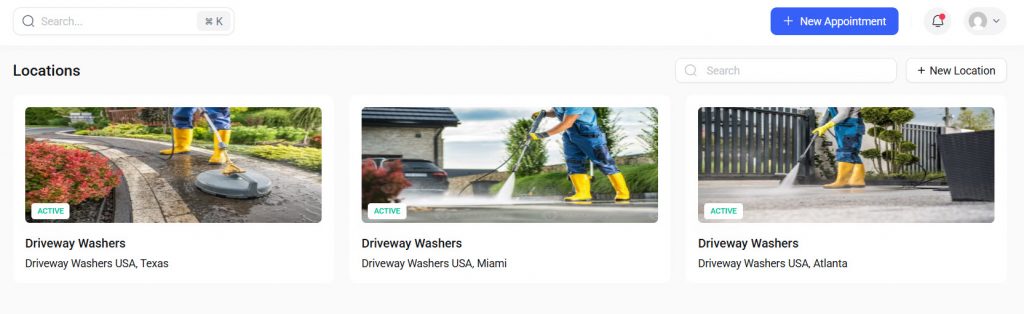
We will be adding three locations in total. To add a new location, click the + New Location button in the top-right corner.
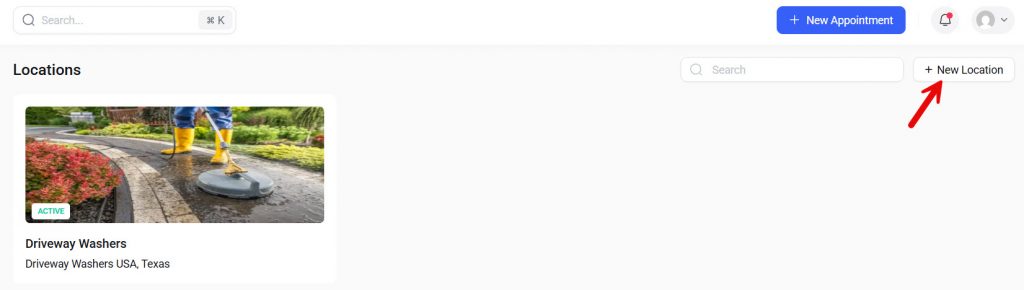
List every location your businesses have branches or operate in.
2. Setting up Payment Methods
Now, we will integrate some payment gateways with the website. You can collect offline payments or enable online payments. We would recommend using both, so you won’t lose any customers.
To configure this, you need to go to the payment settings.
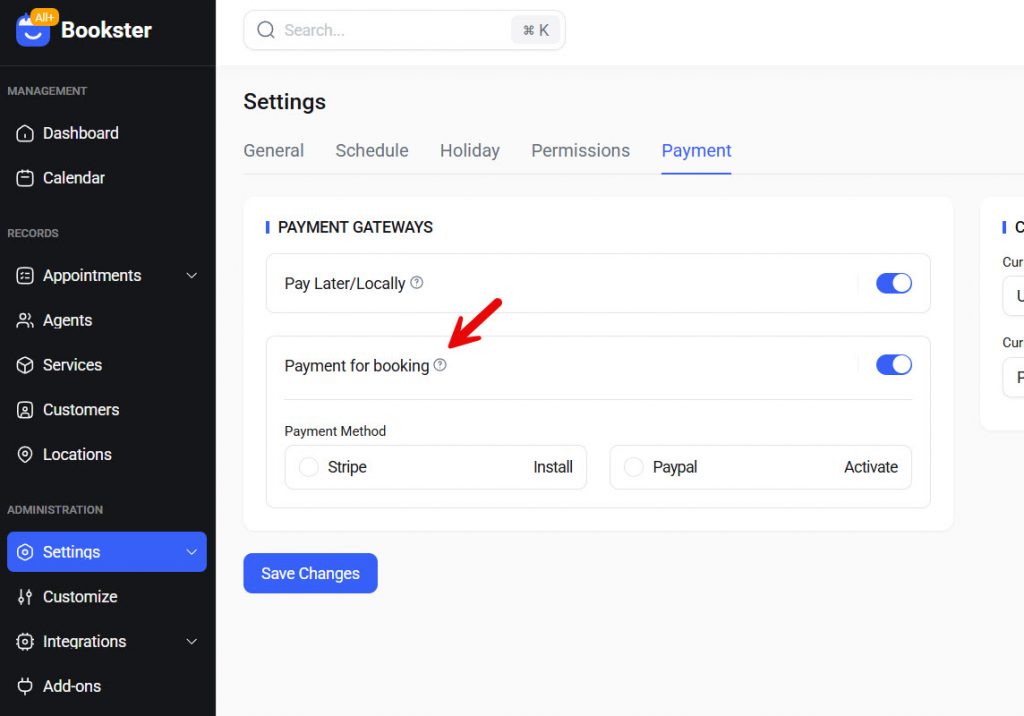
As of now, we support Stripe and PayPal. Based on your preferences, you can pick an option. We will be using the PayPal addon.
There are only two options you need to fill.
- Client ID
- Client Secret
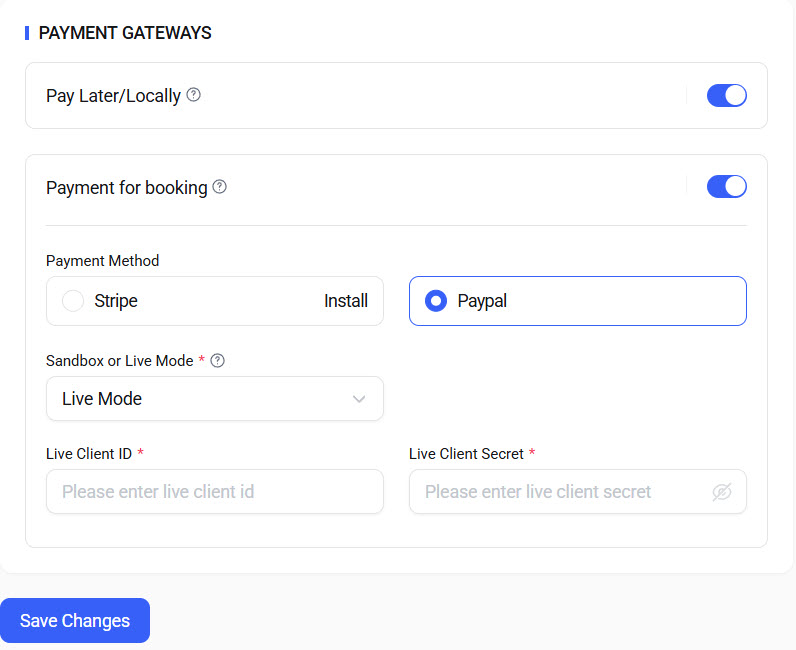
You can enable live mode or sandbox mode. Sandbox mode is used for testing payments. Once everything is good, turn it to live mode.
From now on, when someone pays you online, the amount will be deposited into your linked PayPal account.
3. Tweaking Main Settings
Now, let’s tweak the plugin’s general settings to meet our business needs.
3.1 General Settings
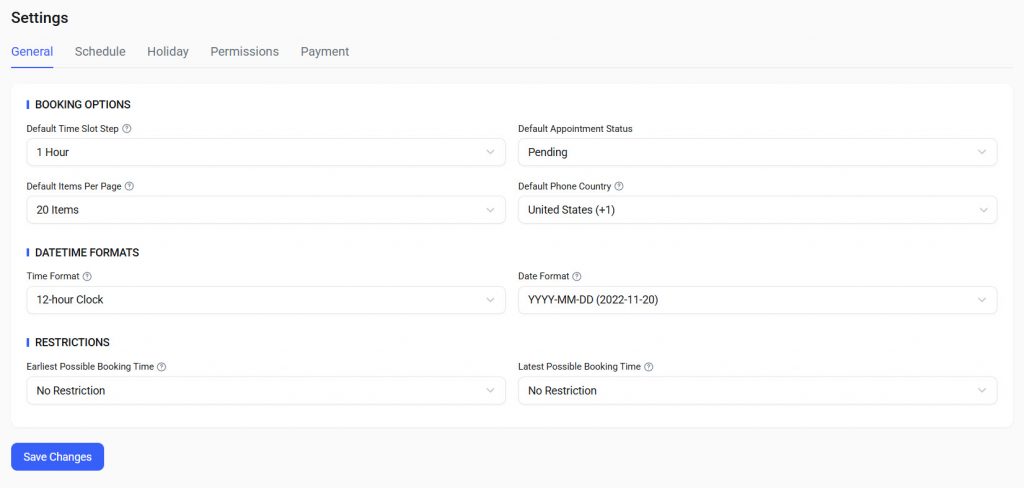
Here, you will see options like:
- Default time slot step
- Default appointment status
- Default items per page
- Default phone country
- Time format
- Date format
- Earliest possible booking time
- Latest possible booking time
Tweak them according to your preferences.
3.2 Schedule
Here, you can configure the business hours.
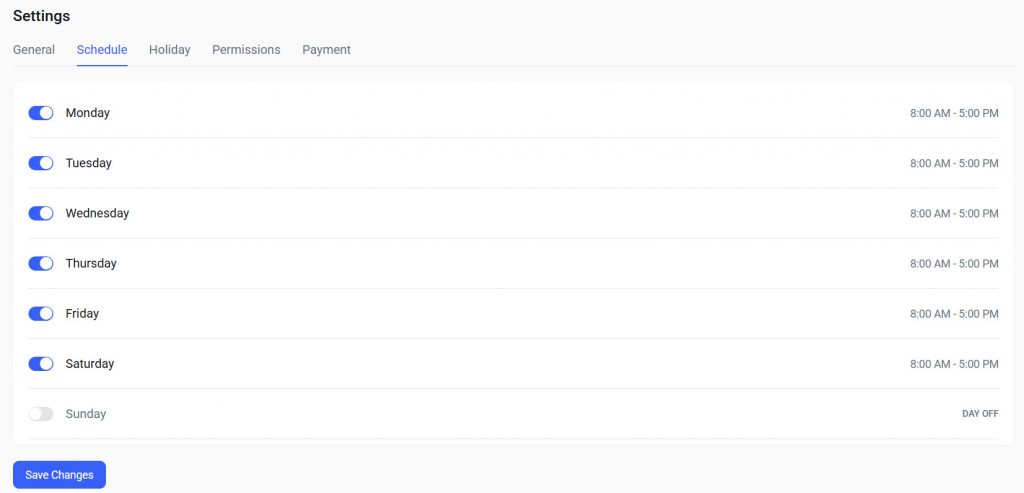
By default, the plugin includes some days and time options. But you can always edit them based on your open days and hours.
3.3 Holiday Settings
Now, we have holiday settings.
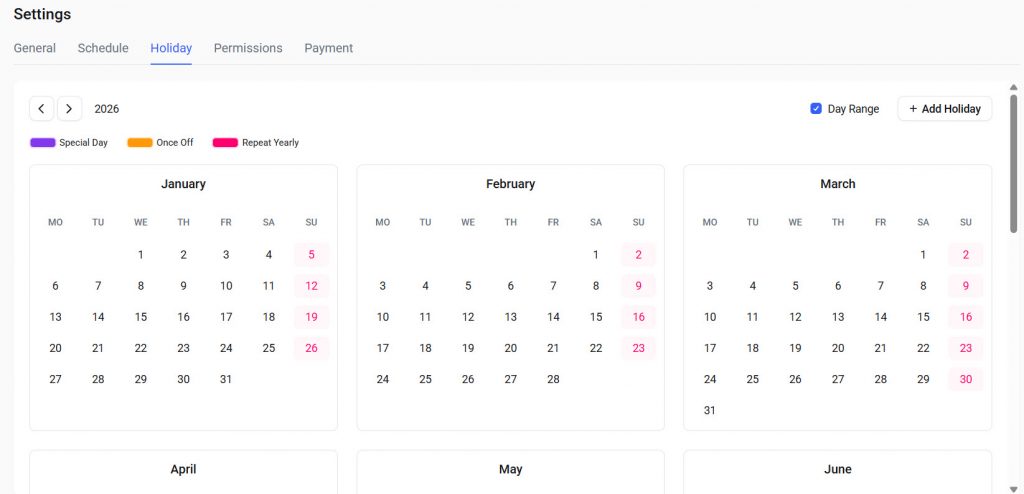
When you have custom holidays, you can use this calendar to mark them. On these holidays, people won’t be able to keep appointments. These can be one-time or recurring.
3.4 Permissions
Here, you can see all the permission settings.
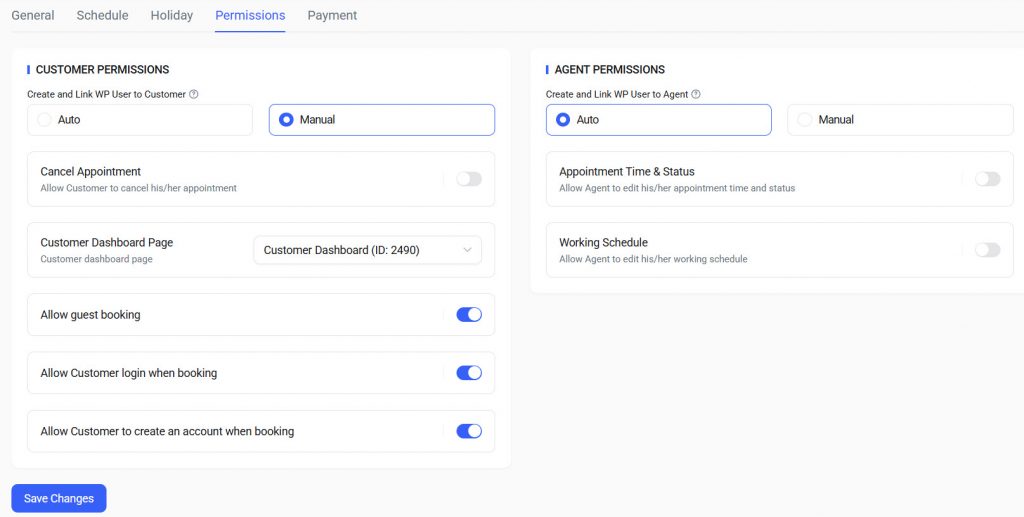
You can tweak them.
4. Adding Agents
Now, it is time to add agents to your website. You can go to the agent’s settings and click + New Agent.
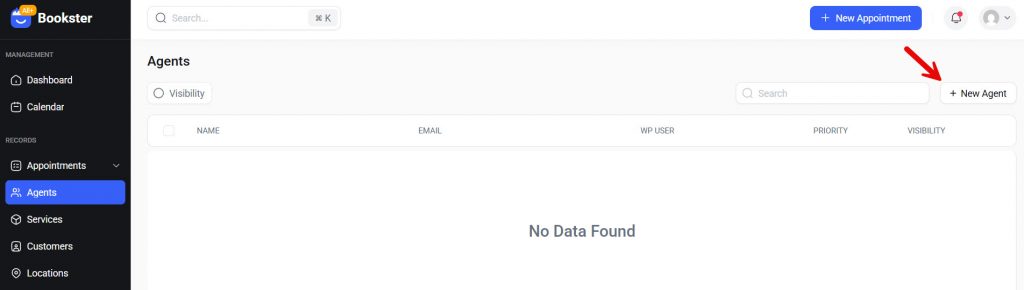
You would see four main options in the settings page.
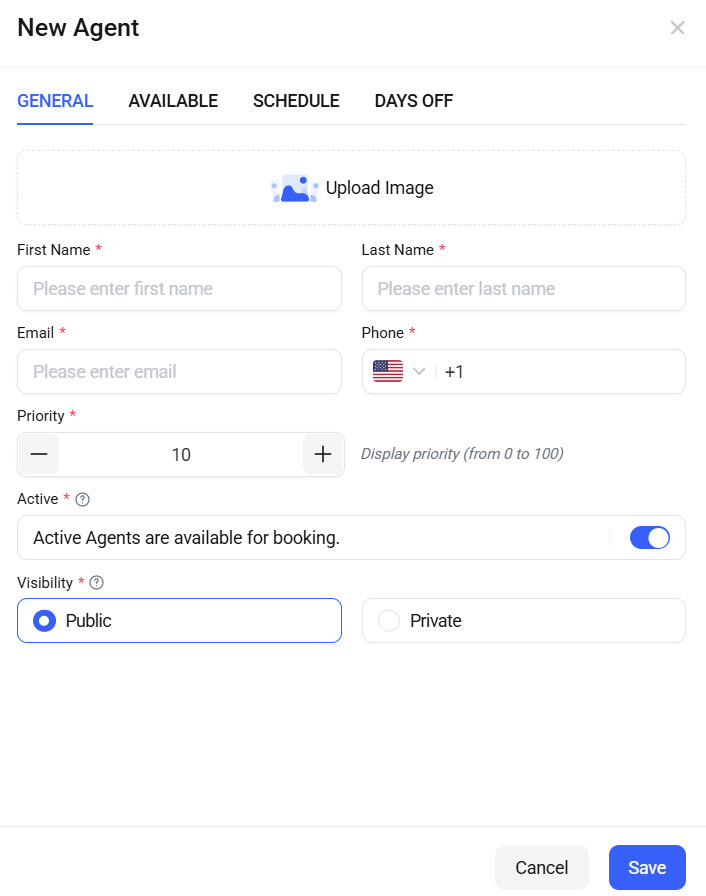
- General
- Available
- Schedule
- Days off
We have added three agents to the site.
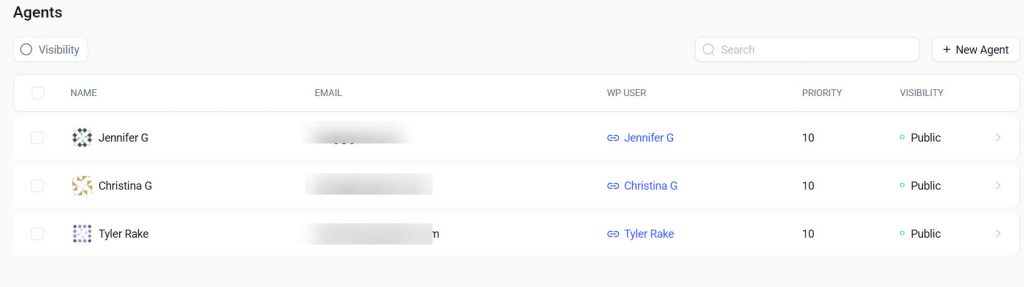
You can always add as many agents as you like. There are no restrictions.
5. Email Template Customization
Next, we will tweak the email template.
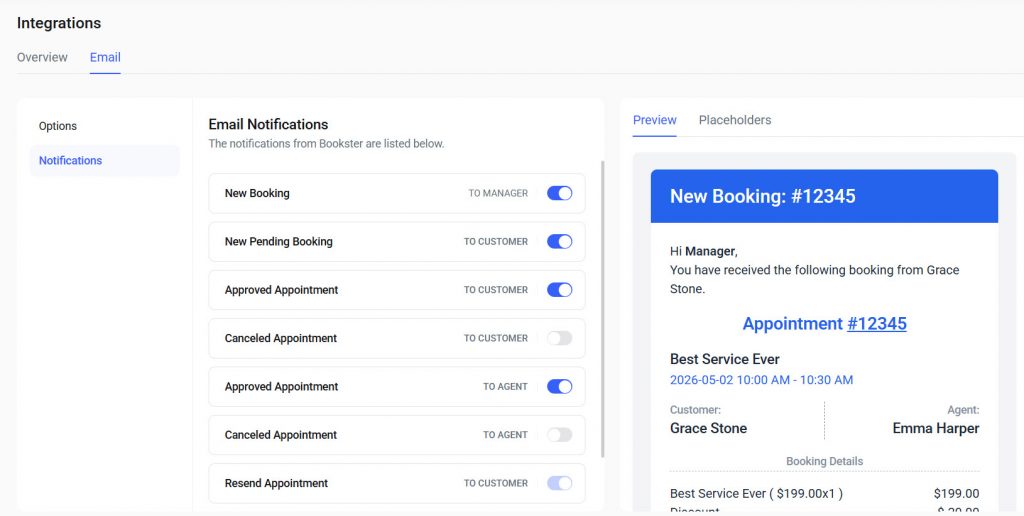
When running a service business, it is mandatory to edit the email templates. You can edit almost every email sent to your agents, customers, or manager.
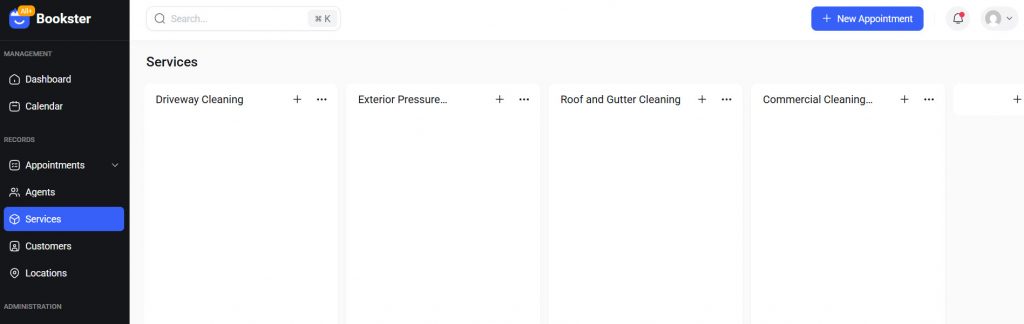
6. Adding Services
Now it is time to add the services to the website. The first thing you need to do is list all the categories on the page. You can always add as many categories as you need.
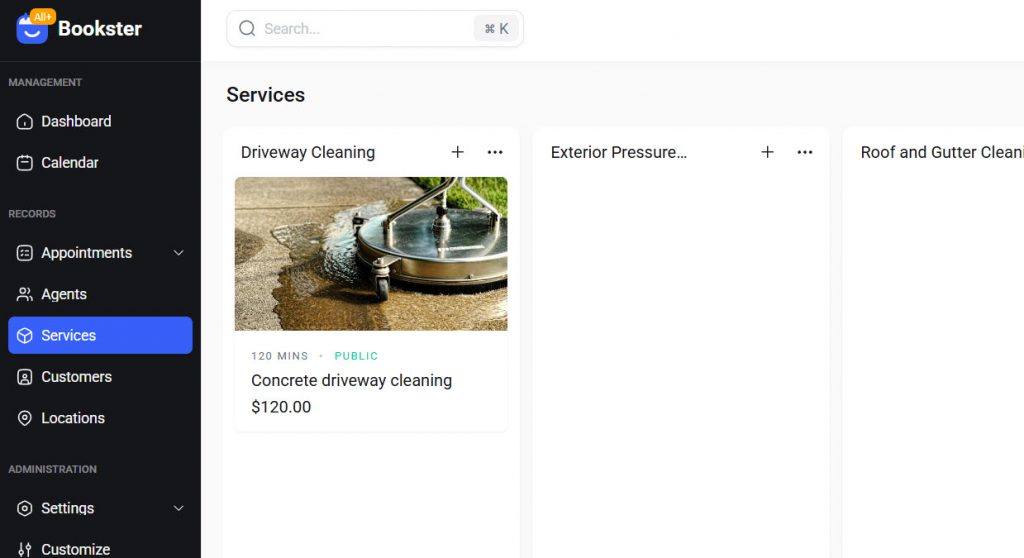
Now, if you click the + button, you can create services under the category.

You can see options like:
- Image
- Service name
- Service category
- Service price
- Service duration
- Buffer before
- Buffer after
- Service description
- Active/ Inactive
- Visibility
Once you have filled in these details, save the service.
When you add services, you should also assign the right agent for this task.
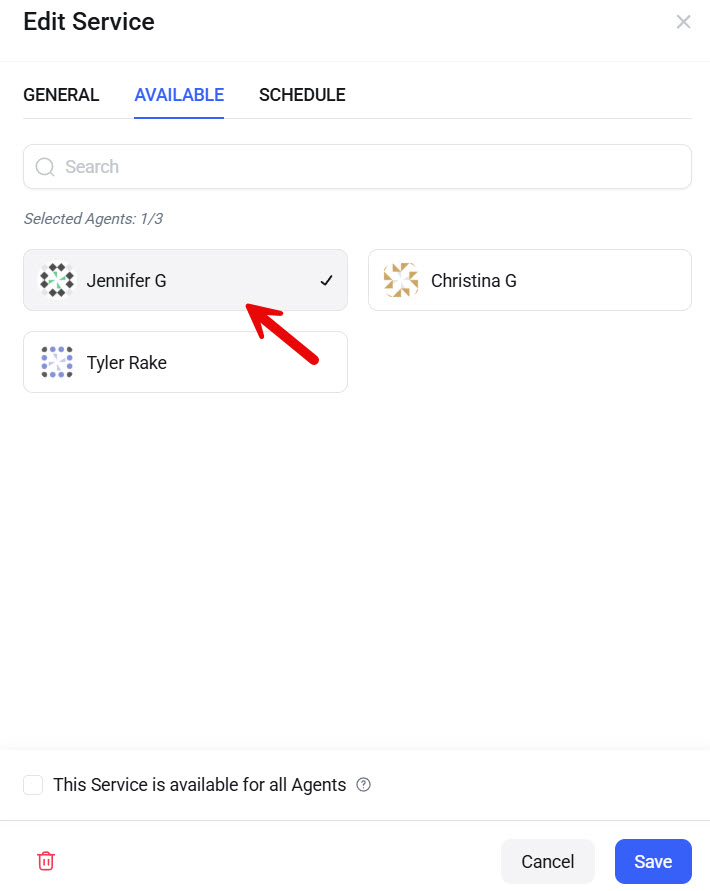
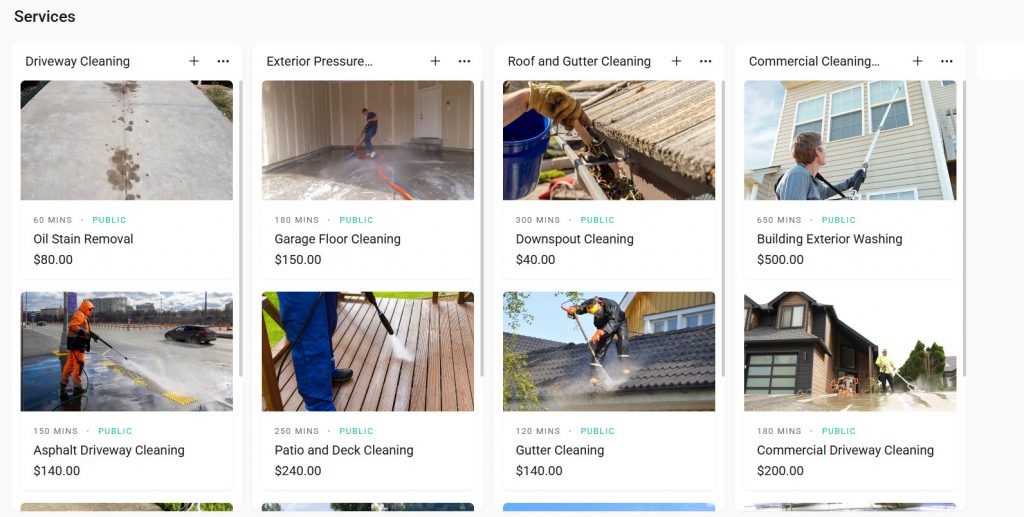
When an agent is unable to perform this task, this would come in handy. We have added services for everything we are going to offer.
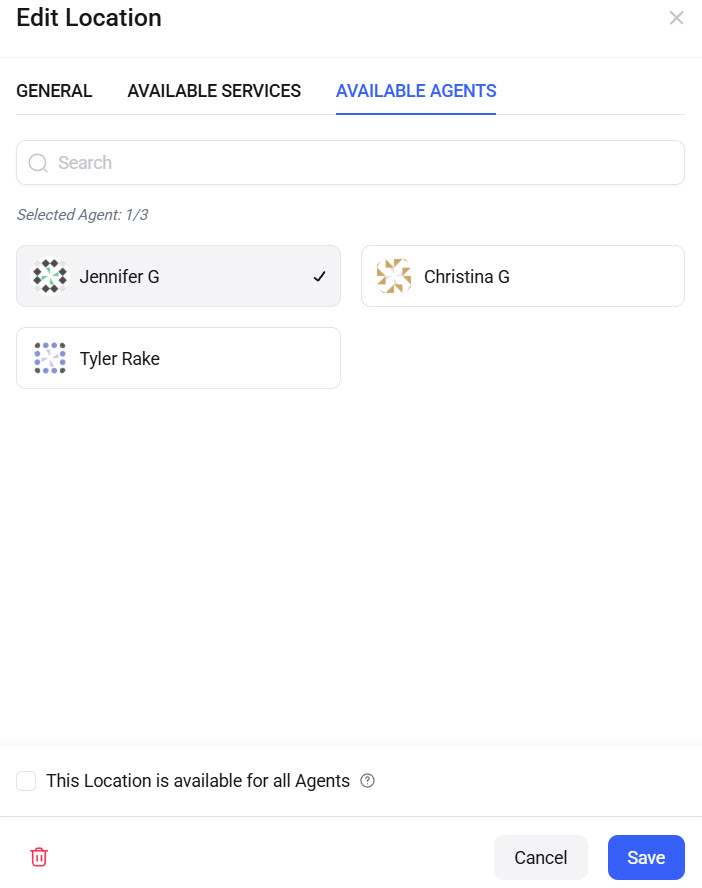
7. Assign Agents and Services to Locations
Now, go back to the location settings and pick one location. Once you have picked it, you need to assign the agent and the services offered by that specific location.
8. Embed the Booking Form
Go to any page you need to embed the form. Use the Bookster Booking Block to embed the form. Once you have done that, visit the page from the front end.
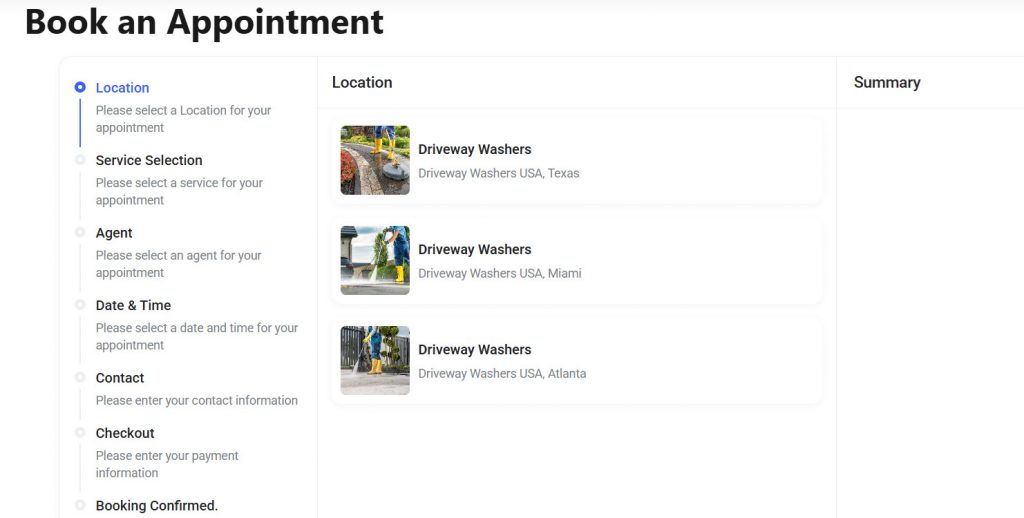
The left-hand side will show you the progress. In the middle, you can see the booking elements. The right side will show you the summary.
That’s it!
This is how you can create a home service booking platform with multiple locations.
Best Practices for Multi-Location Booking Platforms
Running a booking platform across multiple locations requires a clear structure and efficient management to avoid confusion and missed bookings. Following the right practices helps you deliver a smooth experience for customers while keeping operations organized.
- Clearly display service areas so customers know which locations you cover
- Use location-based services to ensure accurate booking availability
- Assign staff to specific locations to avoid scheduling conflicts
- Keep the booking process simple with minimal steps
- Collect accurate customer details, such as address, for home service visits
- Enable automated confirmations and reminders to reduce missed bookings
- Allow easy rescheduling to improve customer flexibility
- Optimize your booking page for mobile users, since many customers book on their phones
Here are some other articles you would like:
- 600+ Best Car Detailing Business Name Ideas You Could Use
- 9 Best WordPress Timeline Plugins in 2026 (#1 is Our Favorite)
- Best 7 WP Fastest Cache Alternatives for WordPress
- 8 Best TikTok Plugins for WordPress in 2026 Compared
- Best 9 FedEx WooCommerce Plugins for Delivery Tracking
Frequently Asked Questions
Now, let’s see some frequently asked questions and answers about this topic.
How can I create a home service booking platform with multiple locations?
You can create a home service booking platform with multiple locations by using WordPress and a booking plugin that supports location management. Set up your services, define service areas, assign staff to locations, and create a booking form to collect customer details such as address and preferred time.
What features should a multi-location booking system include?
A good system should include location-based services, staff assignment, availability management, automated reminders, and a simple booking interface. These features help ensure accurate scheduling and a smooth customer experience across different service areas.
Can I assign staff to specific locations?
Yes, most advanced booking systems allow you to assign staff members to specific locations. This helps prevent scheduling conflicts and ensures that the right team is assigned to the correct service area.
How do I manage bookings for different service areas?
You can manage bookings by creating separate locations and assigning services and staff to each one. This allows you to control availability and ensure bookings are handled correctly based on the customer’s location.
How can I reduce missed bookings for home services?
You can reduce missed bookings by sending automated confirmations and reminders, collecting accurate customer details, and allowing easy rescheduling. These steps help keep customers informed and improve attendance.
Which booking plugin is best for managing multiple locations in WordPress?
A plugin like Bookster works well for this use case because it allows you to manage multiple locations, assign staff, and control bookings from a single dashboard. It simplifies handling location-based services without adding unnecessary complexity.
Do I need coding skills to build a multi-location booking platform?
No, you do not need coding skills. Tools like Bookster are designed to be user-friendly, allowing you to set up services, locations, and booking forms through a simple interface while managing everything directly within your WordPress site.
Conclusion
Creating a home service booking platform with multiple locations becomes much easier when you follow a structured approach and use the right tools.
By organizing your services, defining service areas, assigning staff, and setting up a clear booking form, you can manage bookings efficiently across different locations. Features like automated confirmations, reminders, and easy rescheduling help improve customer experience and reduce missed bookings.
With Bookster and its Multiple Locations add-on, you can handle location-based services directly within your WordPress site.
It allows you to manage multiple service areas, staff availability, and bookings from a single dashboard, making it a practical solution for growing home service businesses that need a scalable and organized booking system.
We hope you found this article helpful and enjoyed reading it. If you did, feel free to check out our blog archive for more useful guides and tips. Also, check out our YouTube channel, X, and Facebook page to get the latest news.
What else are you planning to implement?
Let us know in the comments!