
Do you want to create a clinic appointment booking website with Bookster? In this post, we will show you a step-by-step guide to creating a clinic appointment-booking website with Bookster.
Managing clinic appointments manually can lead to missed bookings, scheduling conflicts, and a poor patient experience. An online booking system helps streamline the process, allowing patients to book appointments anytime and giving clinics better control over their schedules.
With the right setup, you can reduce no-shows, improve communication, and organize services more efficiently. In this guide, you will learn how to create a clinic appointment booking website using Bookster, from setting up services and doctors to designing a professional booking form that meets real clinic requirements.
First, let’s see why your clinic needs an online booking system.
Table of Contents
Why Your Clinic Needs an Online Booking System
An online booking system helps clinics manage appointments more efficiently while improving the overall patient experience. It removes the need for manual scheduling and allows patients to book appointments at their convenience.
- Patients can schedule appointments 24/7 without calling or waiting
- Reduces missed appointments with automated confirmations and reminders
- Improves patient experience with a faster and more convenient booking process
- Helps organize schedules, staff availability, and appointment times more effectively
- Makes it easy to manage patient appointments and reduce administrative workload
- Provides a more professional and modern experience for your clinic
What You Need Before Getting Started
Before setting up your clinic appointment-booking website, it is important to have a few essentials in place to ensure a smooth setup and an efficient workflow.
- A WordPress website where you will install and manage your booking system
- A booking plugin like Bookster to handle appointments and scheduling
- A clear list of clinic services, organized into categories for better navigation
- Details of doctors or staff members, including their availability and working hours
- Defined appointment durations and time slots for each service
- Basic patient information requirements for your booking form
- Consent and privacy details to include in your form for data collection compliance
How to Create a Clinic Appointment Booking Website with Bookster
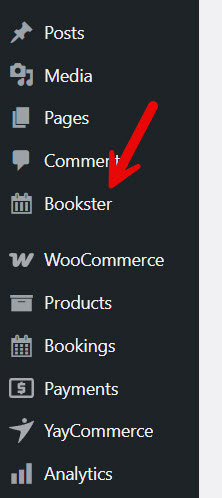
Once you have everything you need, it is time to create the appointment booking system. The first thing you need to do is install and activate Bookster on your WordPress website.
There is a lite version plugin with limited features and a premium version with more unique features. We recommend the premium version for every appointment booking website.
Once you have completed the activation, you can see its settings on the left-hand side.
Once you have selected it, you will be redirected to the Bookster dashboard.
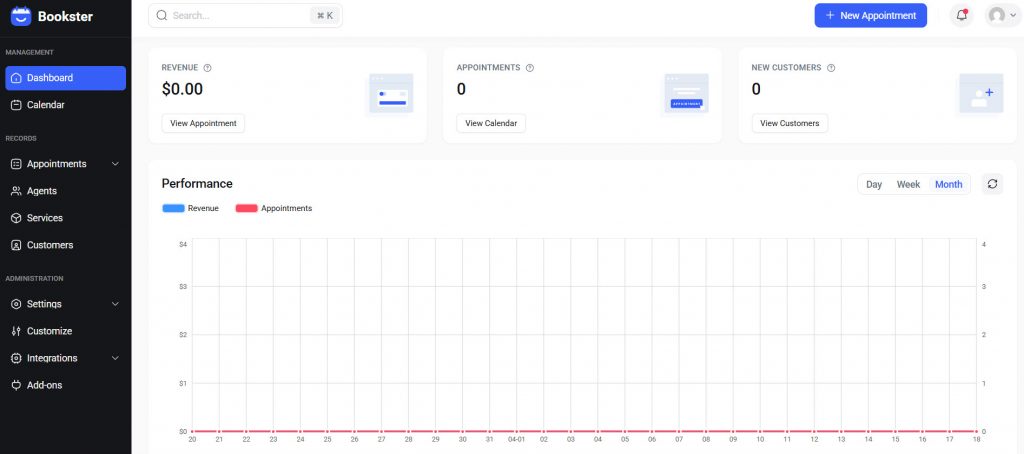
There are a few important things you need to do before accepting appointments. Let’s configure those.
Configure Payment Methods
With Bookster, you can get paid locally or via any payment processor. The plugin currently supports PayPal and Stripe payments. For most clinics, these payment gateways are ideal.
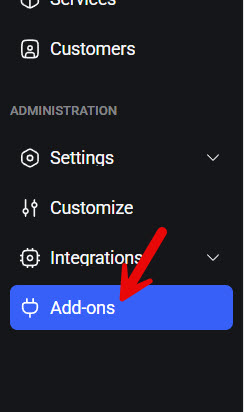
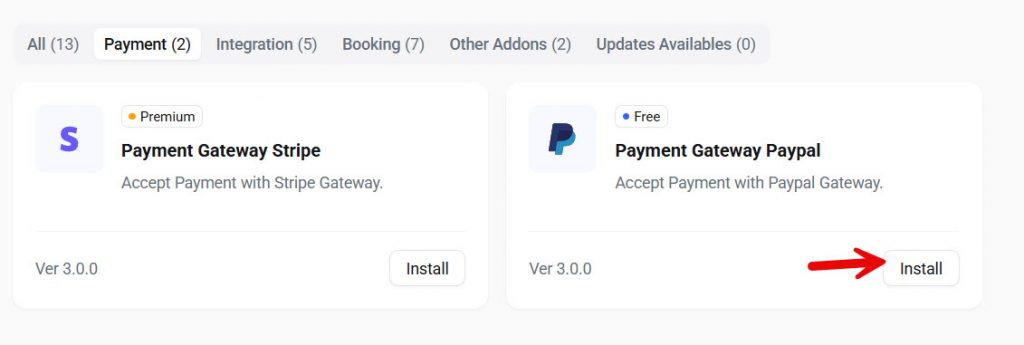
To add these, go to the add-ons section.
Now, choose the payment option, and you can see the available add-ons.
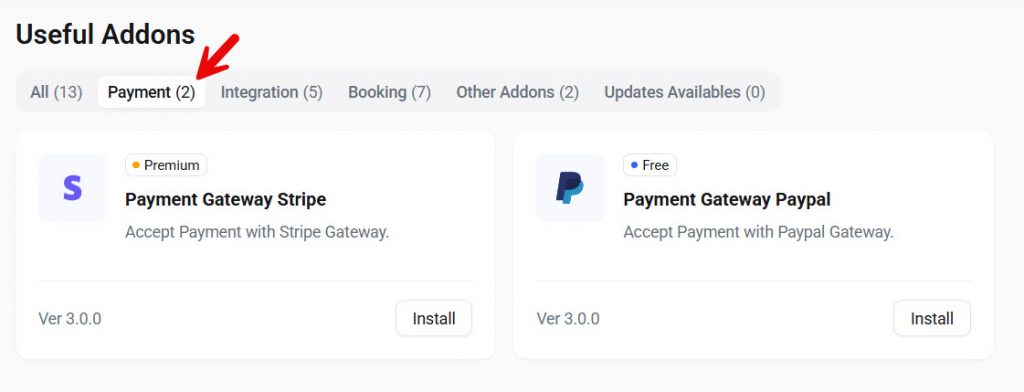
Install the one you need. You can also install both payment add-ons, so you won’t lose potential customers or revenue due to a lack of payment processors. For this tutorial, we will be using the PayPal add-on.
After installation, go to the addon settings.
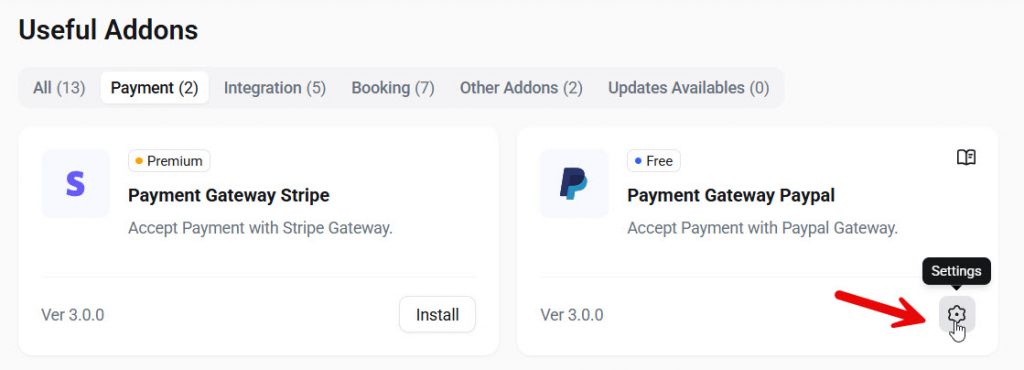
From there, you will be redirected to the PayPal addon settings.
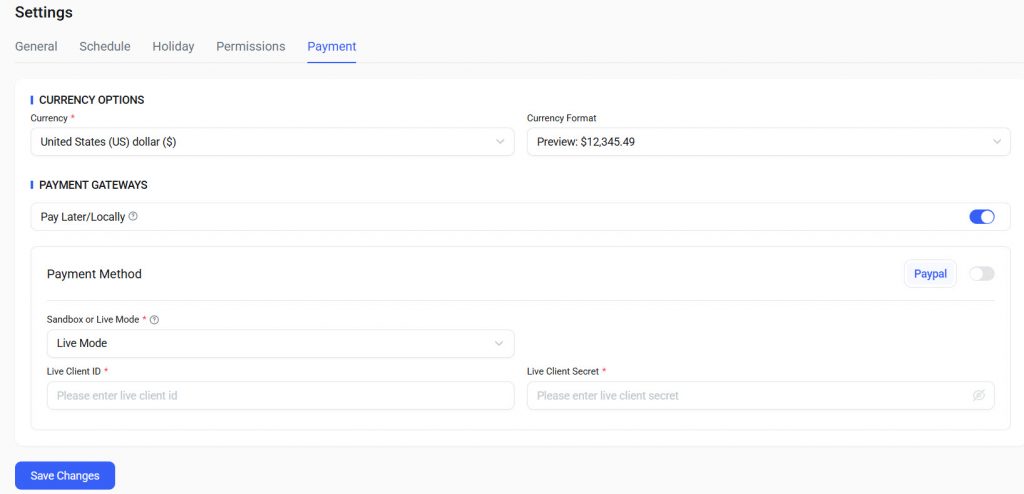
There, you can choose
- Currency options
- Format
- Enable/disable local payments
- PayPal addon configuration
Under the PayPal addon configuration, you can enable or disable the mode. There are live mode and sandbox mode. Sandbox mode is used for testing payments, and live mode must be enabled to start collecting payments from users.
All you need is
- Client ID
- Client secret
These can be obtained from the PayPal account settings. This was the main part you needed to do. Next, let’s see what else we need to do to get you rolling with appointments.
General Settings
Under general settings, you can see the basic options.
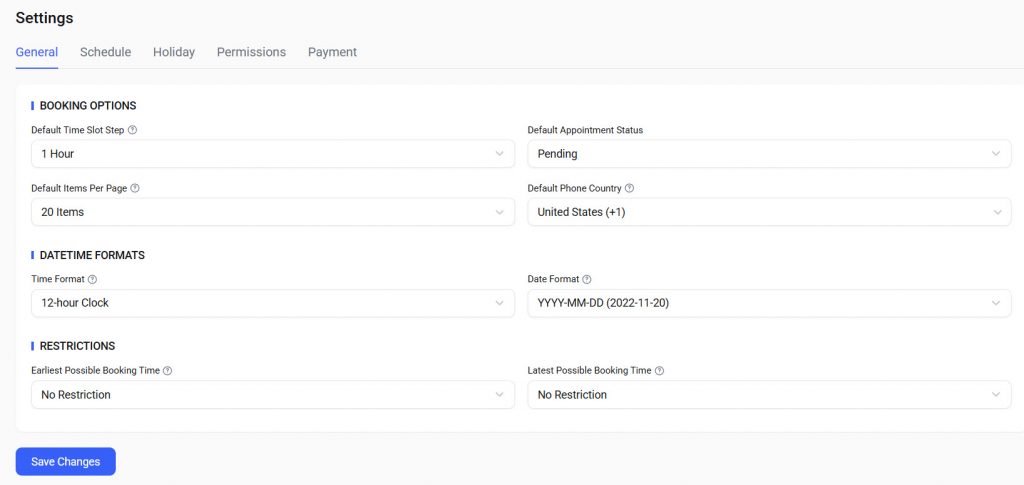
As you can see in the screenshot, you have options like:
- Booking options
- Default time slot syep
- Default appointment status
- Default items per page
- Default phone country
- Date time formats
- Time format
- Date format
- Restrictions
- Earliest possible booking time
- Latest possible booking time
And so on. Depending on your business, you can customize it.
Schedule Settings
From here, you can choose which days your business works. For example, if you are unavailable on every Sunday, you can disable Sunday.
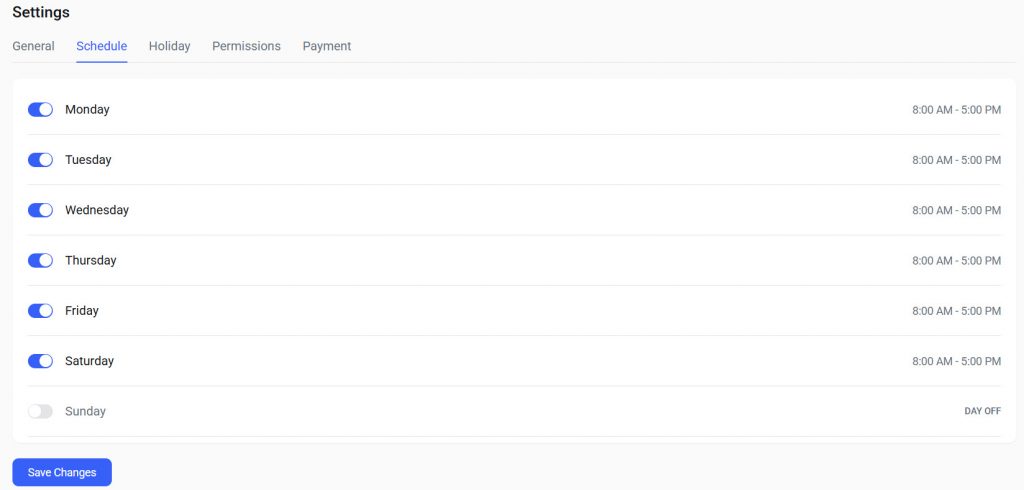
From now on, no appointments will be available on Sundays. You can also configure the business timing from the same page.
Holiday Settings
When you need to add specific days off, use the holiday settings.

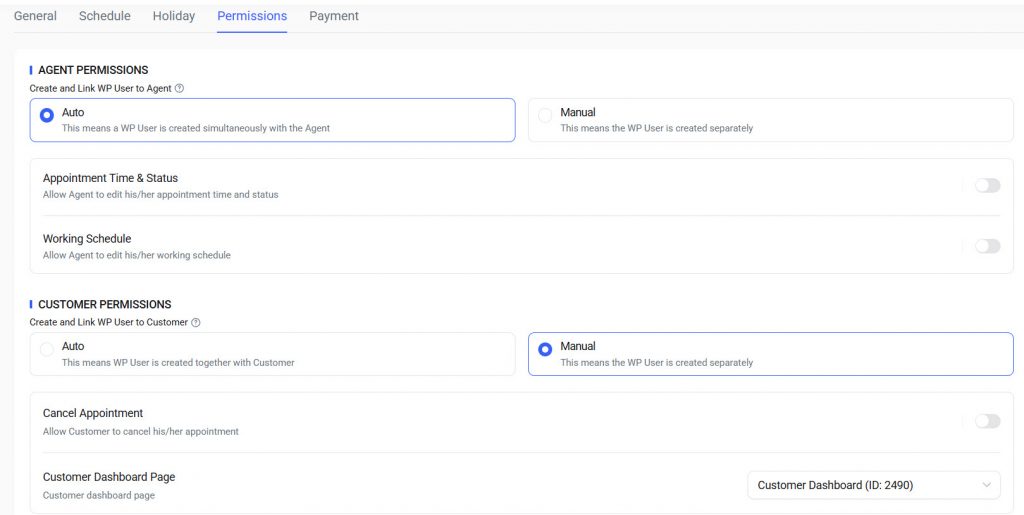
Permission Settings
Here, we will work with the agent and user permissions.
Once you have done these, you have created the base for your clinic appointment booking system. The next thing we need is an agent.
Agent Settings
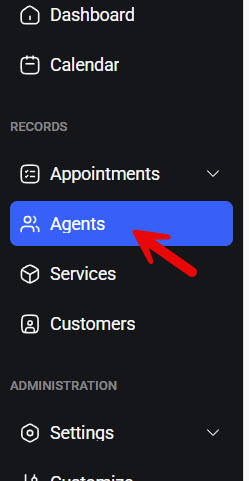
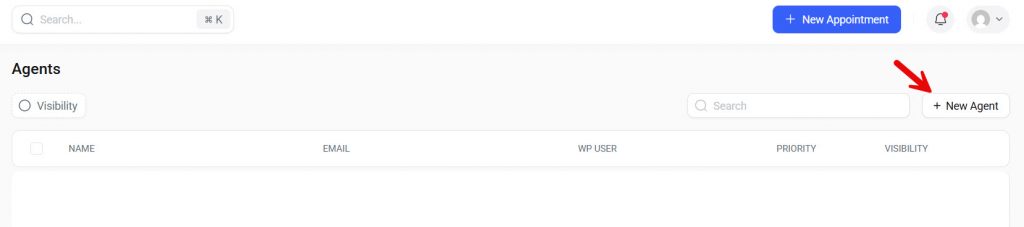
With Bookster, you can create as many agents as you need. There are no limitations. To get started, go to the agent’s settings.
From there, you can add a new agent.
Adding a new agent involves four main steps.
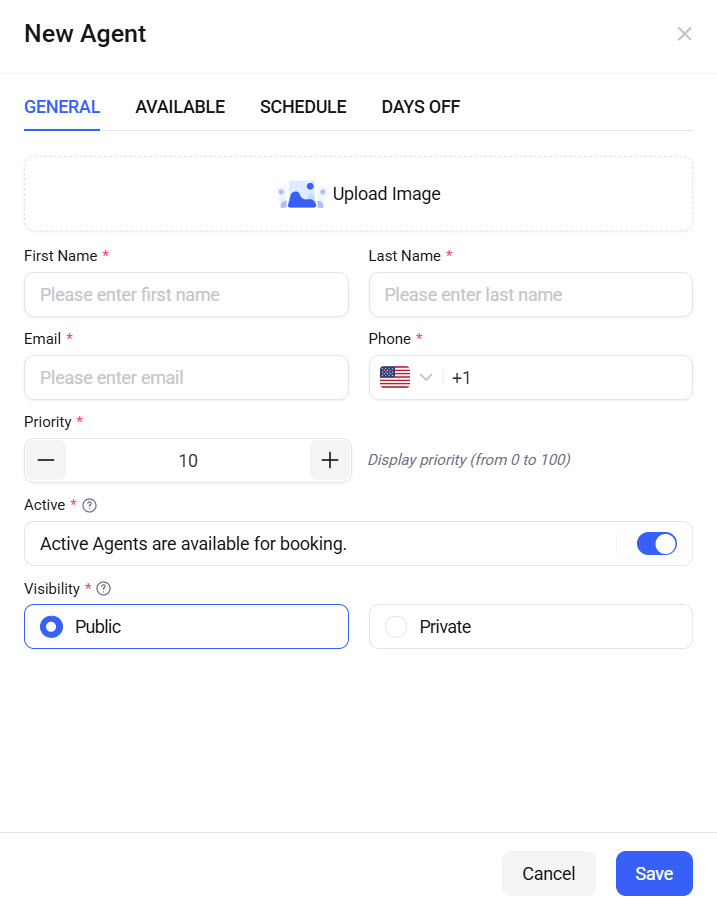
- General
- Available
- Schedule
- Days off
Under the general settings, you need to enter your basic details, such as
- A profile photo
- First name
- Last name
- Priority
- Active/Inactive
- Visibility
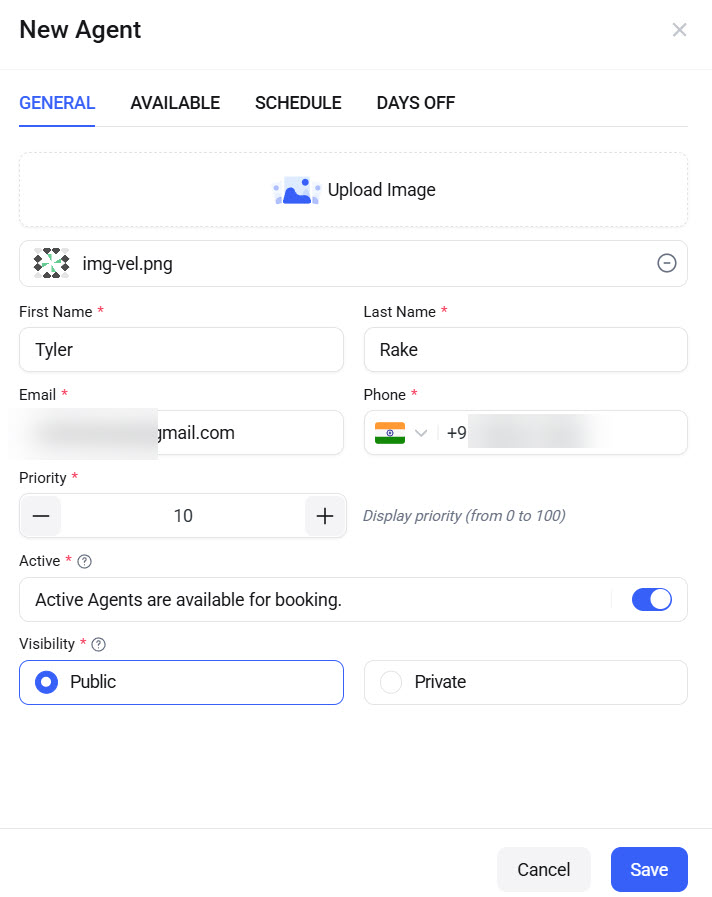
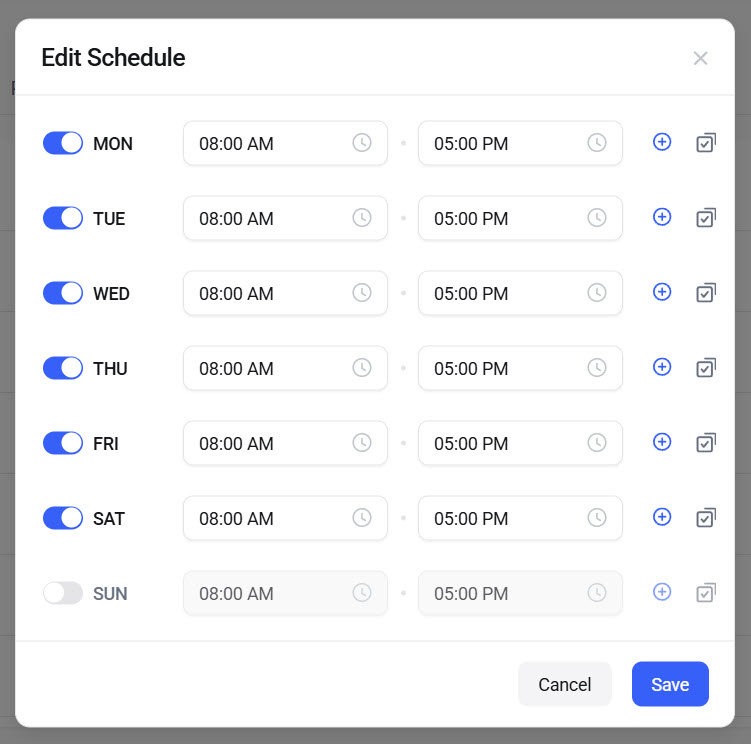
Once you are done with it, move to the availability. As of now, nothing would be visible here because we haven’t created any services yet. So, check the schedule settings.

If you need to assign a custom timing for this agent, this is the right way to do it. By default, all agents will follow the timing you assigned in the Bookster settings.
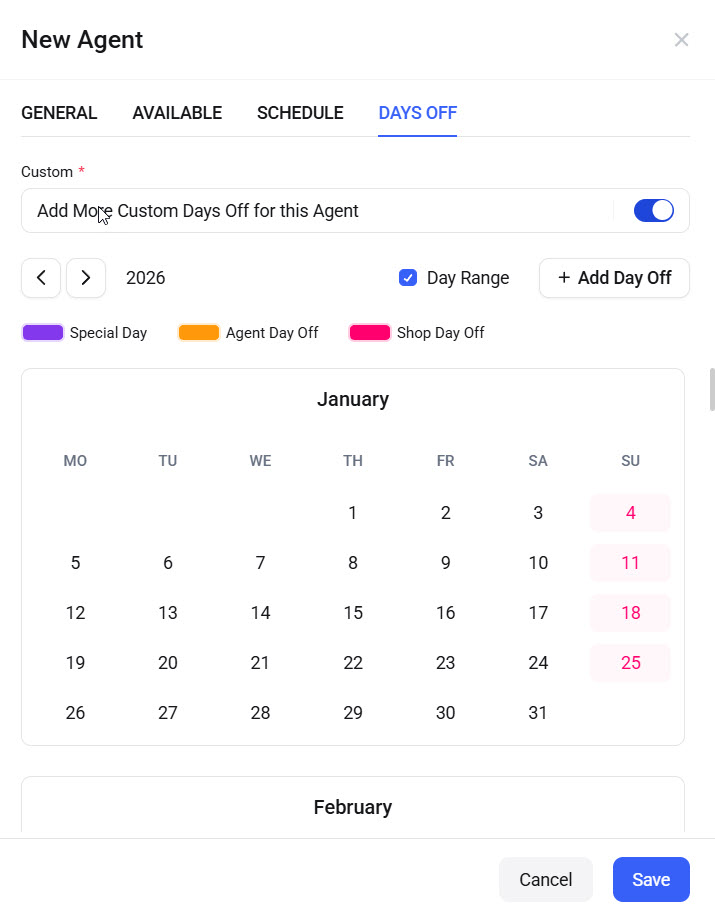
Finally, you can add custom days off for the agents, too.
Similarly, add as many agents as you need.
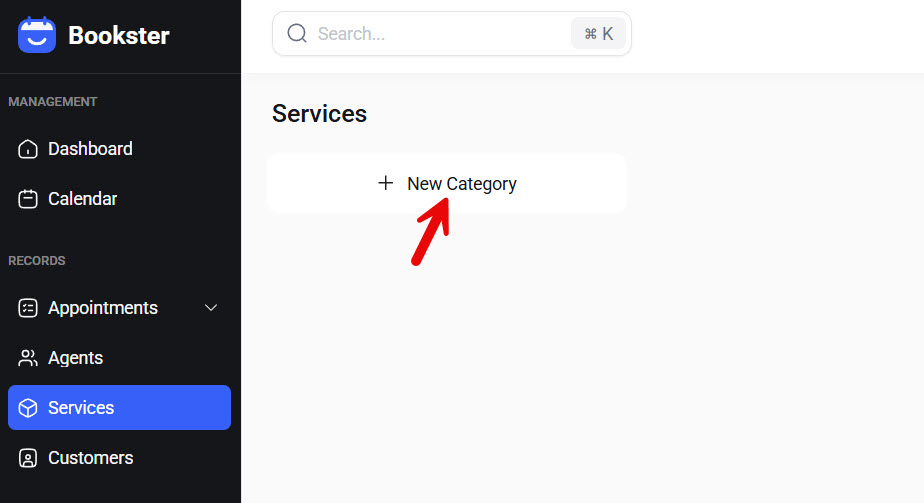
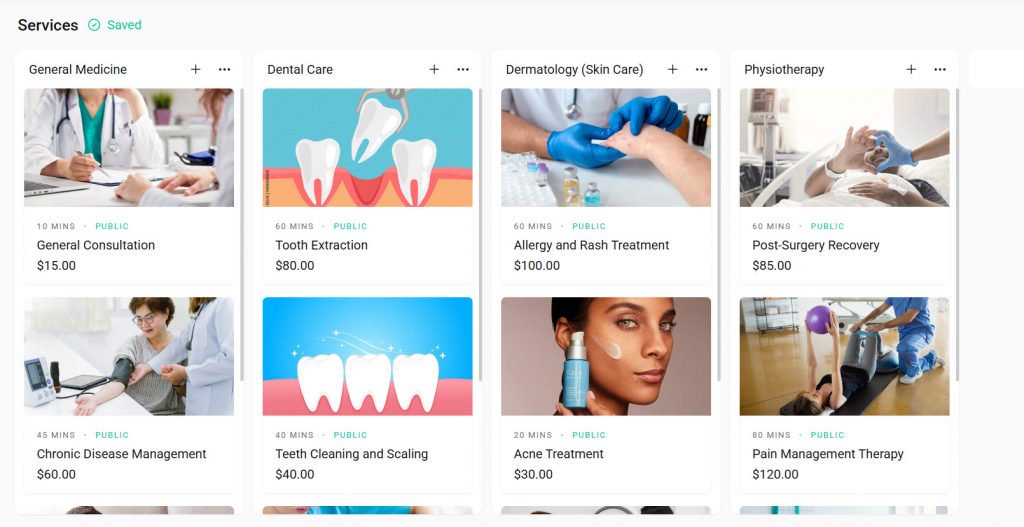
Adding Services
The next step is to add services.
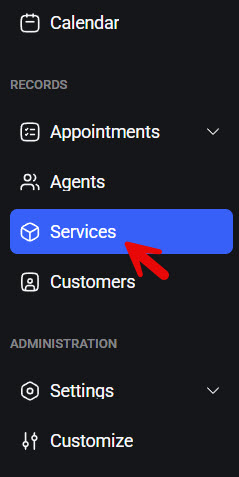
By default, you won’t see any services. You need to start by creating categories.
For our website, we have created four categories:
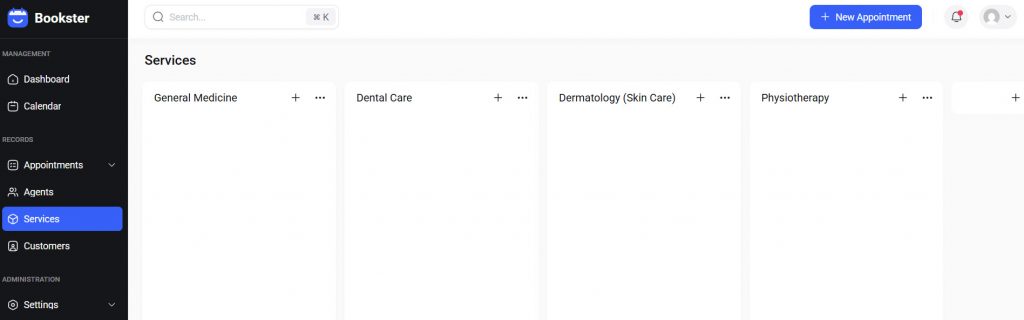
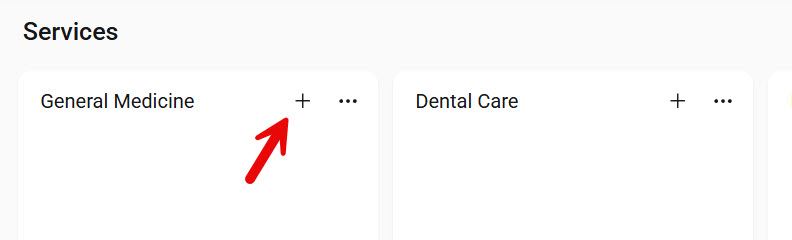
Now, under each category, we need to create services. To do that, click the + button.
When you add a new service, there are three options.
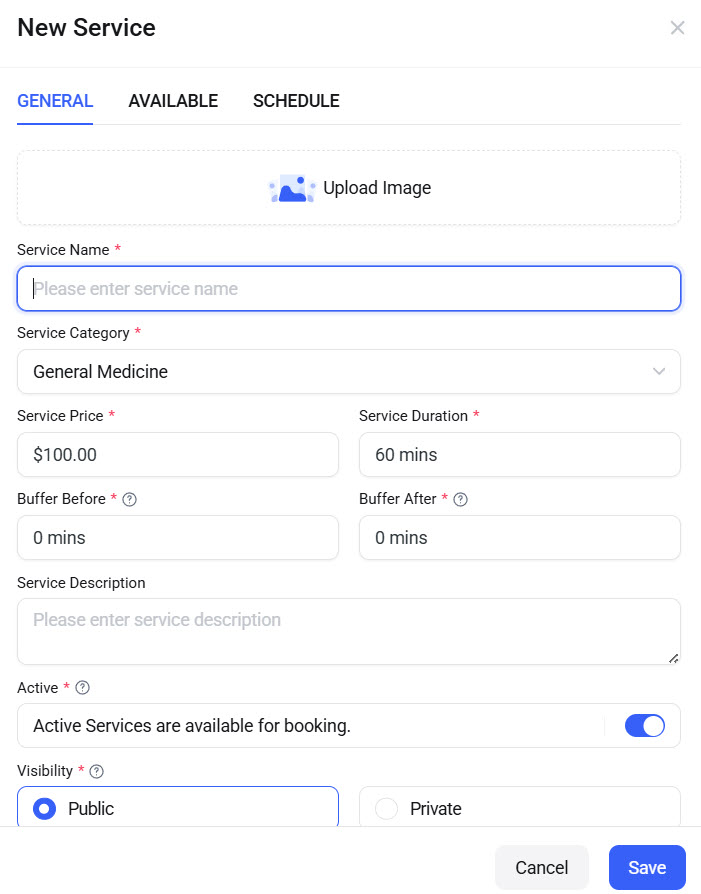
In the general settings, you need to add
- A picture of the service
- Service name
- Service category
- Service price
- Service duration
- Buffer before
- Buffer after
- Service description
- Active/Inactive
- Visbility
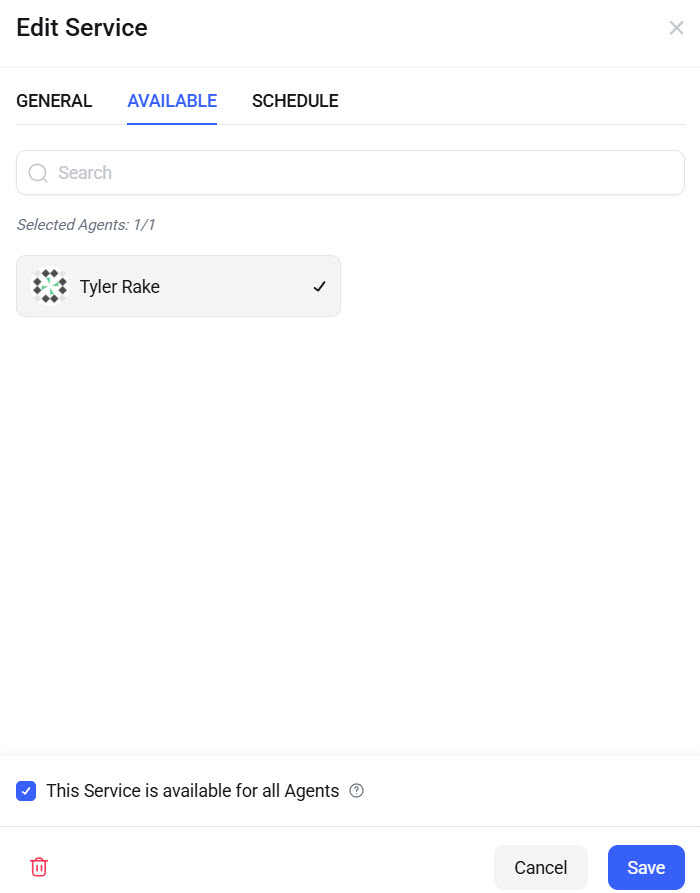
In the service availability section, you can choose the agent who will cover this service.
Finally, as we did with the agents, you can also add a custom schedule for the service.
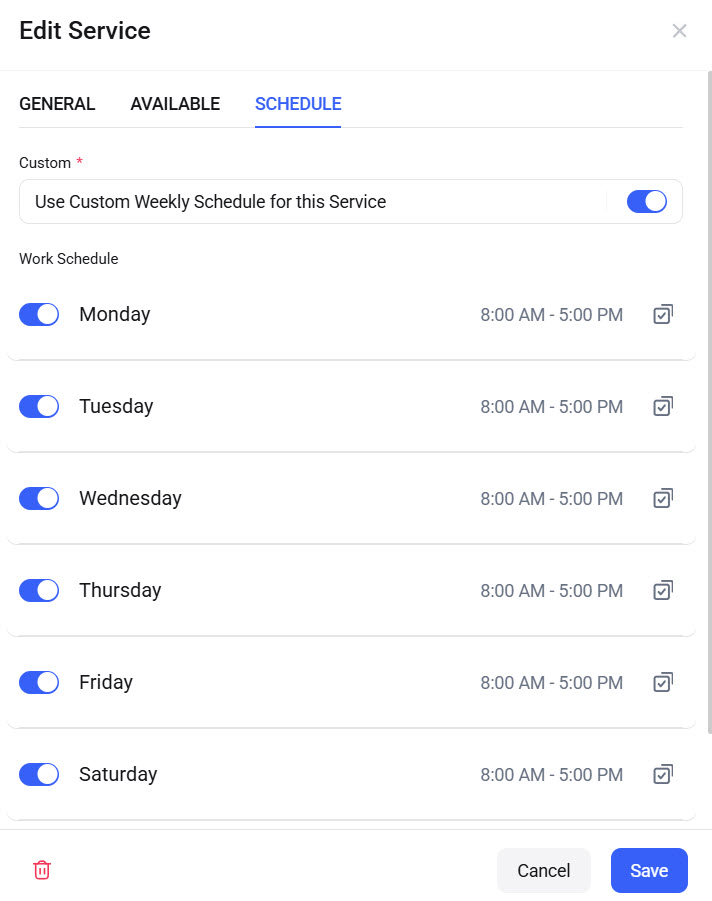
After adding all these, save the settings. The page will look like this:
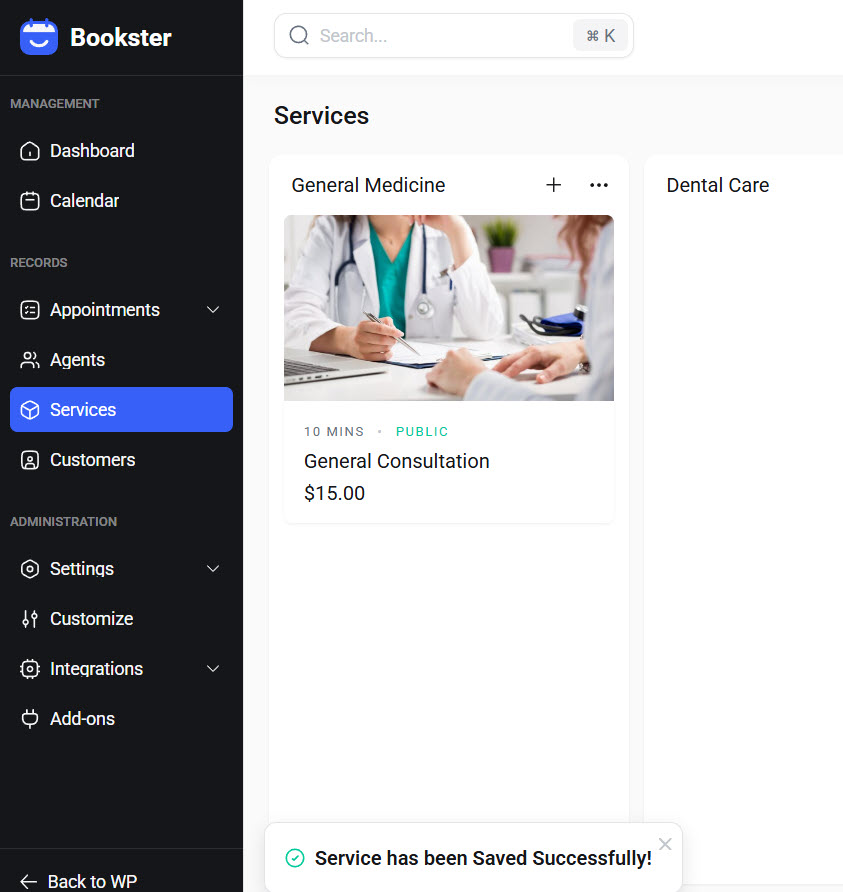
Now, add every service you’re going to offer. We have added every service we will be offering, and it will look like this:
Now the only thing left to do is embed the booking form on a page so people can start booking appointments.
Embedding Booking Form
Go to any page and add the Bookster Booking Form block.
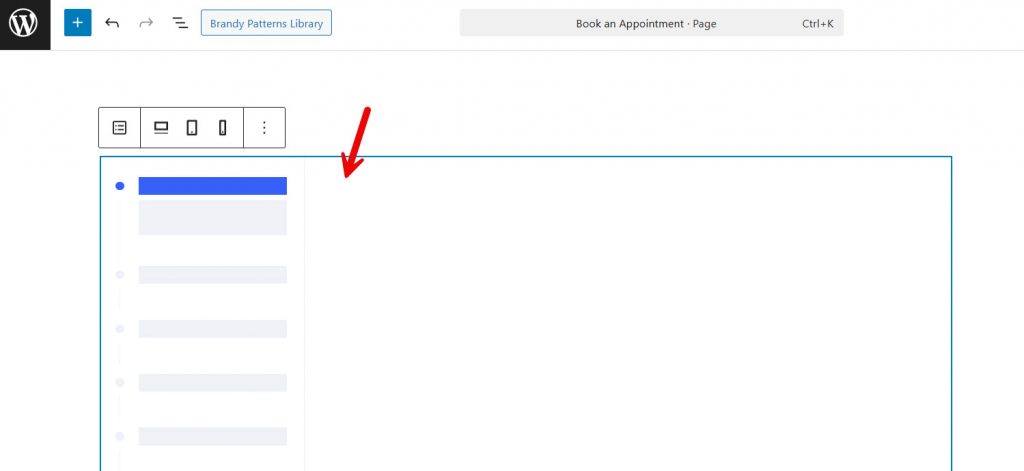
Once you have added it, save or update the page. Now check your page from the front end. You will see the live booking form.
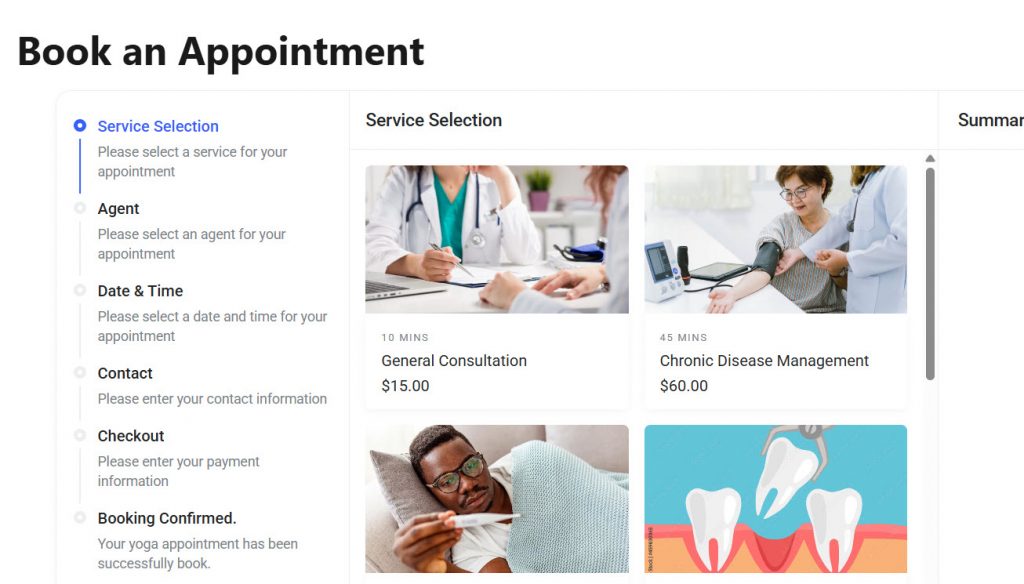
As you can see, you can select a service and move forward with it. The left-hand side will show you the steps.
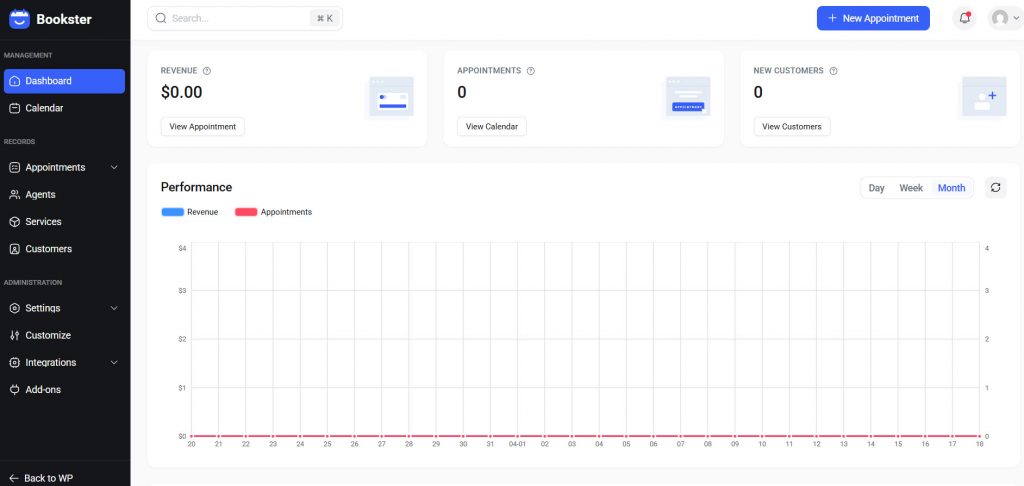
And once the user books an appointment, you will get a notification at your email address. You can also track every appointment from the Bookster dashboard.
That’s it!
This is how you can create a clinic appointment booking website with Bookster.
Best Practices for Clinic Booking Websites
Following best practices ensures your clinic booking website is efficient, user-friendly, and reliable for patients. A well-optimized system helps reduce missed appointments and improves overall patient satisfaction.
- Keep the booking process simple with minimal steps and clear appointment time selection
- Use clear service names and categories so patients can easily choose the right treatment
- Add patient-friendly booking form fields, like symptoms or notes, to prepare in advance
- Include a consent checkbox for data collection and privacy compliance
- Display doctor availability and clinic hours clearly to avoid confusion
- Use relevant images, such as doctor profiles and service photos, to build trust
- Enable automated reminders to reduce missed appointments
- Allow easy rescheduling so patients can adjust their bookings without hassle
Frequently Asked Questions
Now, let’s take a look at some frequently asked questions and answers about this topic.
How can I create a clinic appointment booking website on WordPress?
You can create a clinic appointment booking website by installing a booking plugin, setting up your services, adding doctors or staff, and configuring your booking form. This allows patients to book appointments online, choose their preferred time, and receive confirmations automatically.
What features should a clinic booking system include?
A clinic booking system should include service selection, staff or doctor scheduling, customizable booking forms, automated confirmations, and reminders. It should also allow patients to reschedule easily and provide a smooth booking experience from start to finish.
What fields should I include in a clinic booking form?
A good booking form should include the patient’s name, email, phone number, selected service, preferred appointment time, and a notes field for symptoms or concerns. Adding a consent checkbox for data collection is also important for clinics handling sensitive information.
Can I manage multiple doctors and schedules easily?
Yes, most booking systems allow you to assign services to different doctors and set individual availability. This helps manage multiple schedules efficiently and ensures patients can book the right doctor at the right time.
How can I reduce missed appointments in my clinic?
You can reduce missed appointments by using automated reminders, sending confirmations instantly, and allowing easy rescheduling. Clear appointment details and timely notifications help ensure patients remember and attend their bookings.
Do I need coding skills to set up a booking system?
No, you do not need coding skills. Modern booking plugins are designed to be user-friendly, allowing you to set up services, schedules, and booking forms through a simple interface without technical knowledge.
Which booking plugin is best for clinic websites?
The best booking plugin depends on your needs, but a solution like Bookster works well for clinic websites because it is easy to set up and is designed specifically for managing bookings and appointments. It allows you to handle services, staff, and patient bookings directly within your WordPress site without unnecessary complexity.
Conclusion
Creating a clinic appointment booking website does not have to be complicated when you use the right tools and follow a structured approach.
By setting up services, organizing doctors, and designing a clear booking form with essential patient details and consent fields, you can build a system that works efficiently for both your staff and patients. Adding images, clear service categories, and automated reminders further improve the experience and help reduce missed appointments.
With a solution like Bookster, you can manage the entire booking process directly on your WordPress site, giving you full control over your clinic’s schedule while providing a smooth, professional experience for your patients.
We hope you found this article helpful and enjoyed reading it. If you did, feel free to check out our blog archive for more useful guides and tips. Also, check out our YouTube channel, X, and Facebook page to get the latest news.
What other businesses need a booking system?
Let us know in the comments.