
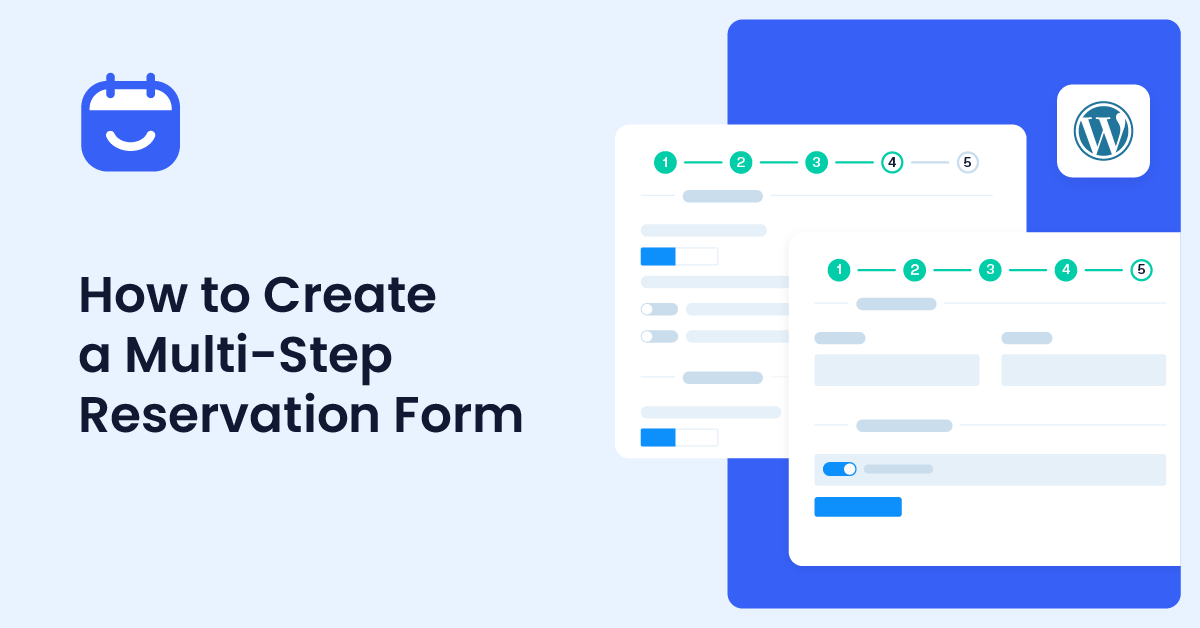
Do you want to create a multi-step reservation form in WordPress? If you are looking for a step-by-step method, keep reading this article. Here, we will show you the complete guide to creating multi-step reservation forms in WordPress.
An appointment booking plugin makes it easy to create reservations and booking forms. Several booking plugins are available in the WordPress plugin repository, and they help you create booking forms with minimal effort.
But have you ever thought about creating a multi-step reservation form?
Not so many plugins offer this feature. If you need to know how to create one for your appointment booking page, keep reading this post. Here, we will show you what those are, who needs the forms, and how to create one without coding.
First, let’s see what multi-step reservation forms are.
What Are Multi-Step Reservation Forms
As the name says, multi-step reservation forms are appointment booking forms divided into multiple parts. By default, when a booking plugin creates a reservation form, all the content and options will load on the same page.
This can negatively affect the user experience. The form will become lengthy if you must collect so much data from your user. Some people will see the form before entering the details, think about all the hassle, and leave without completing it.
That’s where you can create a multi-step reservation form.
Since the form is divided into multiple parts, you can still have all the contents and fields as before, but the form abandonment rate would be much lower. This way, you can improve the user experience with less effort.
Since customers can also see what they are doing and how many more steps are to come, they will love multi-step reservation forms.
Now that you know what multi-step reservation forms are, the following section will show you who can use them.
Who Needs Multi-Step Reservation Forms
A multi-step reservation form can be used by:
- Hospitality (Hotels, Resorts)
- Travel and Tourism
- Event Management
- Healthcare (Appointment scheduling)
- Restaurants and Catering
- Transportation (Flights, Trains, Buses)
- Entertainment (Concerts, Shows)
- Recreation (Spas, Salons, Golf Courses)
And so on. In summary, whoever deals with reservations should consider using a multi-step form.
How to Create a Multi-Step Reservation Form in WordPress
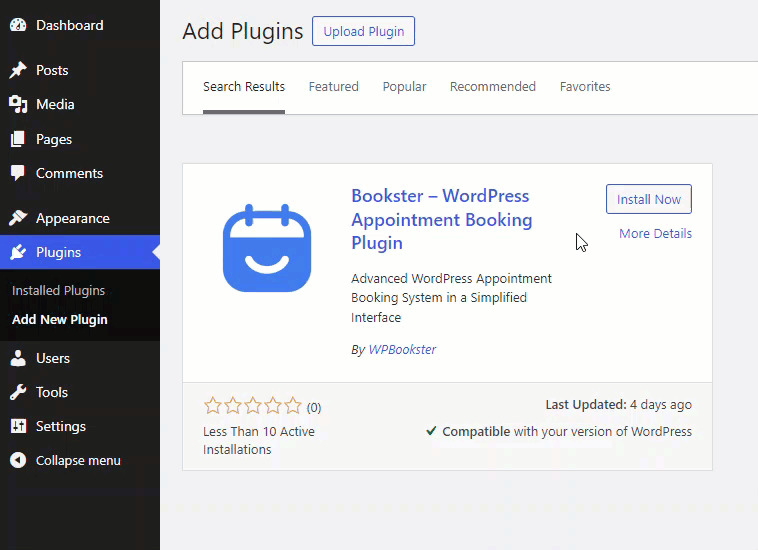
To complete this task, use the #1 WordPress appointment booking plugin. As you know, if you search for a WordPress plugin for a specific task, you’ll land on multiple options. However, if you are looking for the finest appointment booking plugin, we recommend Bookster.
The first thing you need to do is install and activate the plugin on your website. This might be easy since you can install the plugin directly from the WordPress plugin repository.
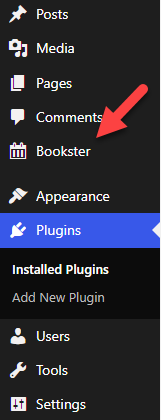
After successful activation, you can see the plugin’s settings on the left-hand side.
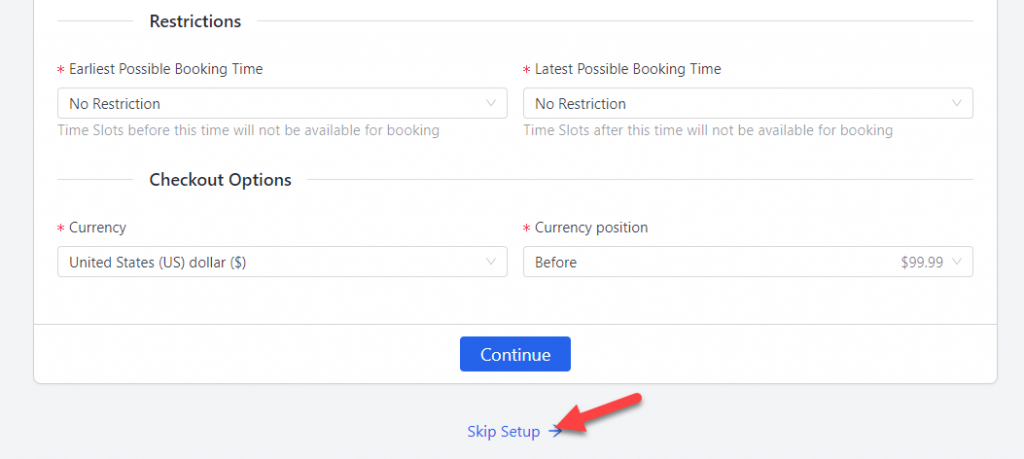
If you open the Bookster settings, you will see a setup wizard.
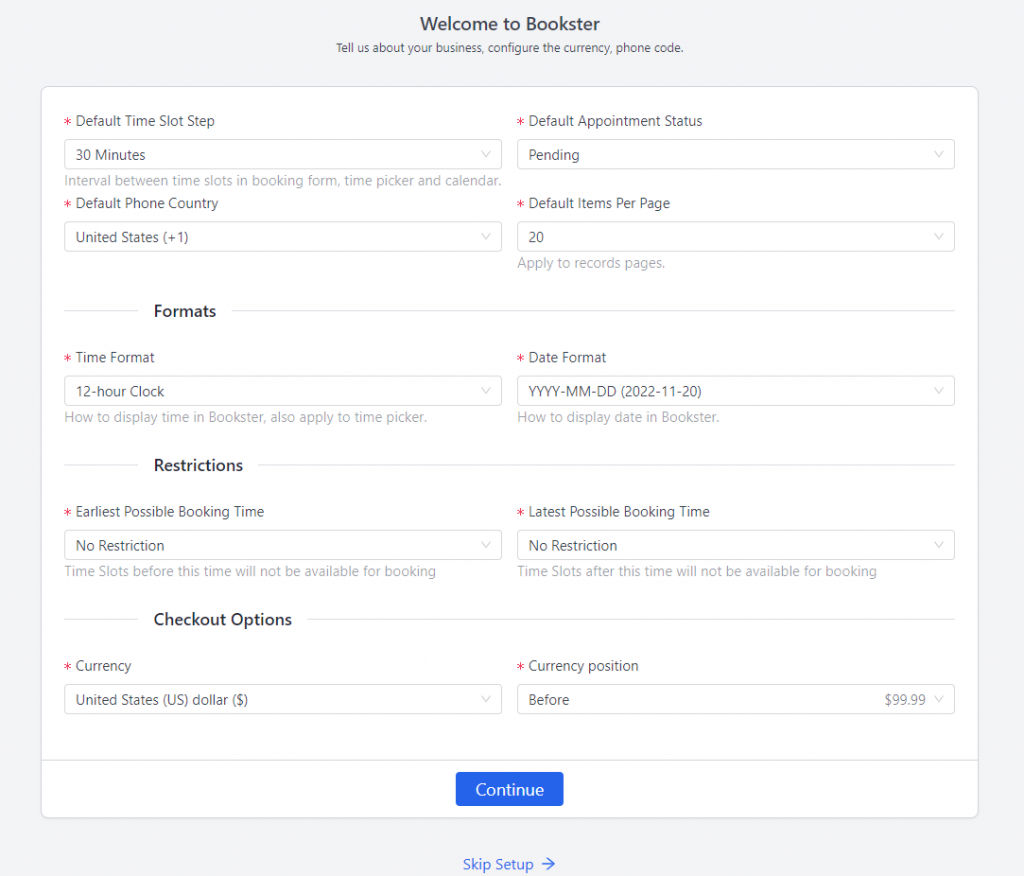
You can start customizing the form from there or skip the setup. In this case, we will skip the setup because we need to explore the plugin’s features individually from the settings.
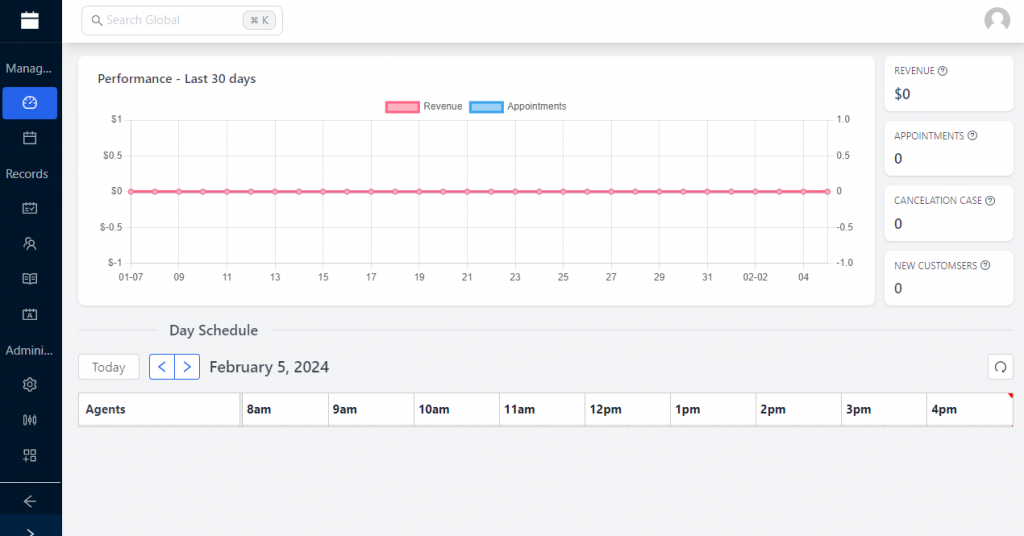
Soon, you will be redirected to the Bookster dashboard.
Let’s see how to create the multi-step reservation form.
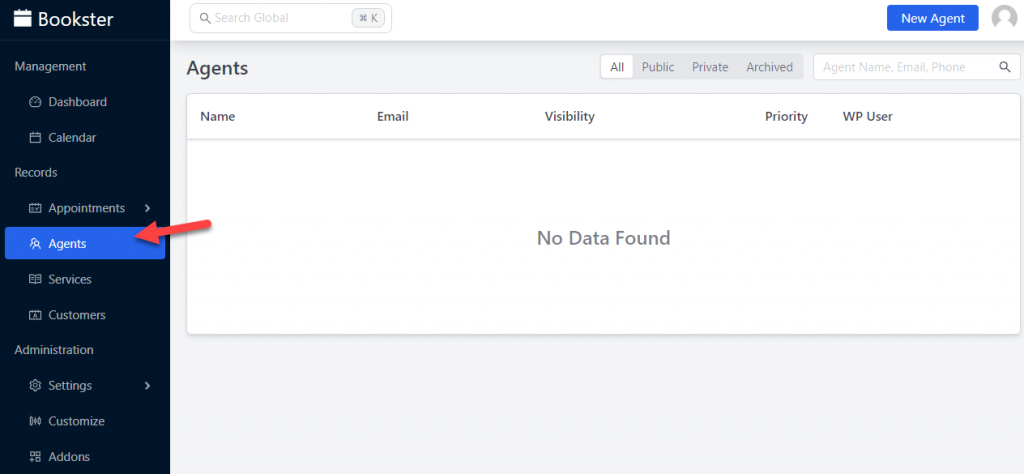
Agent Creation
First, let’s create agents for the website. If you check the left-hand side, you can see the option to create agents on the website.
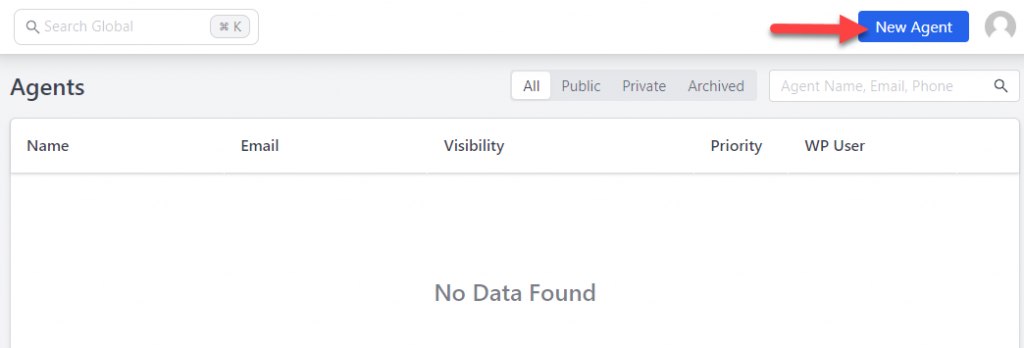
To create agent accounts, click the New Agent button.
You can see four customization options in the settings:
- General
- Available
- Schedule
- Days off
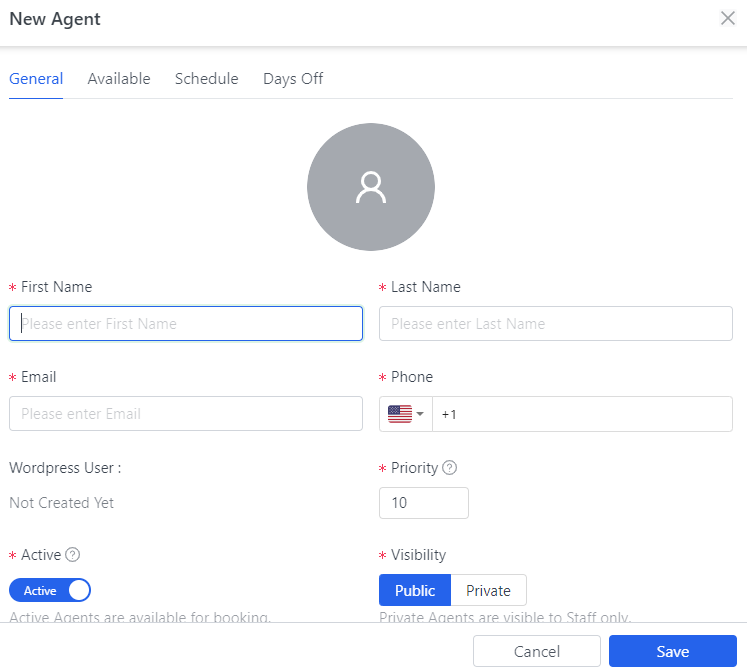
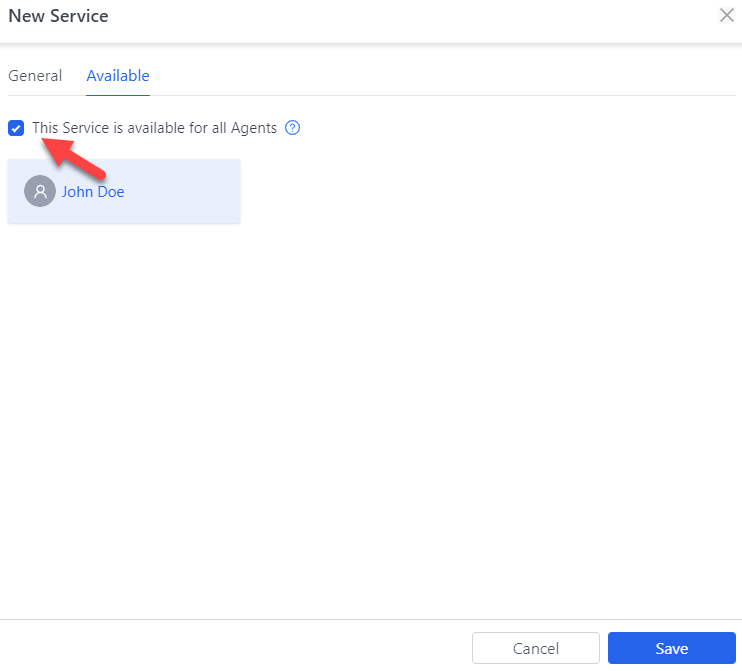
From the general settings, you can customize the agent’s name, add the email address and mobile number, and select the status. The availability tab will help you determine whether the agent is available for all services.
The schedule option allows you to create a custom working schedule for this client. Finally, the final option allows you to allow days off for this client.
Here, we have created one agent for the business.
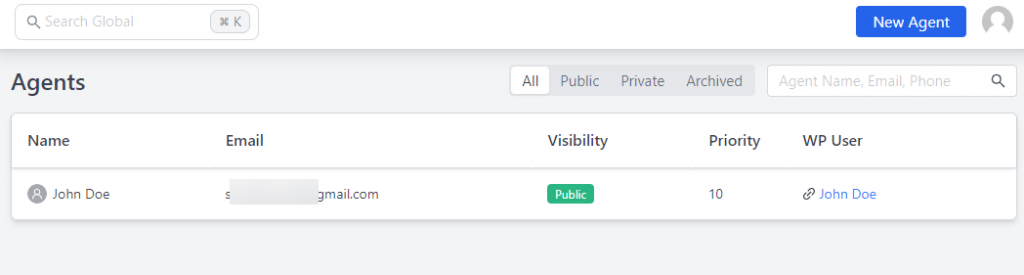
You can always create multiple agents if needed; the plugin does not limit the number of agents you can have.
Creating Services
The next step is to create services that users can book. The services option is available in the Bookster dashboard.
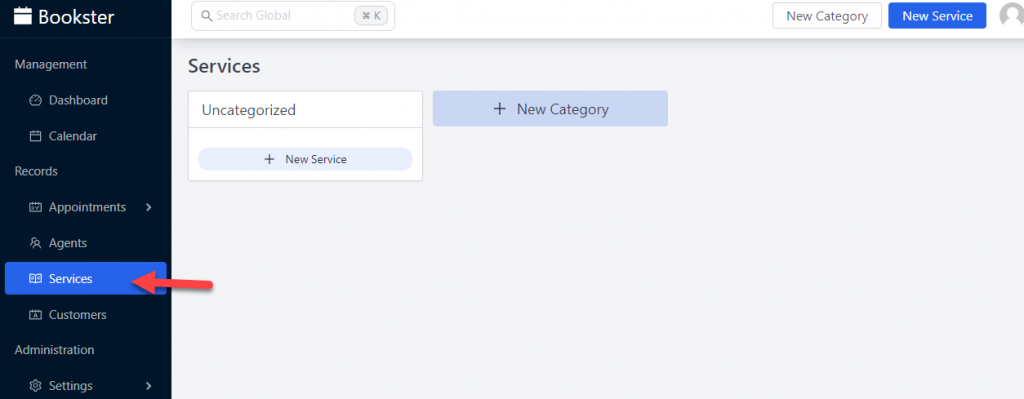
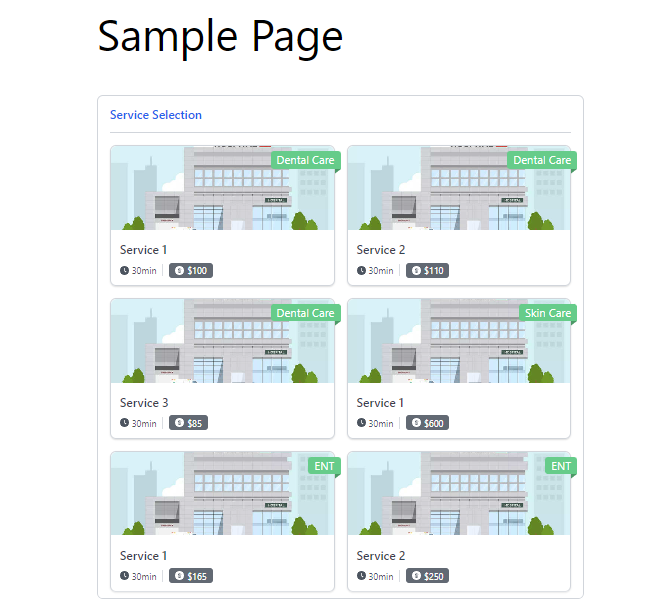
To organize your services better, you can create multiple categories. In this case, we plan to run this booking form for a hospital. Hence, we have ended up configuring the services page like this:
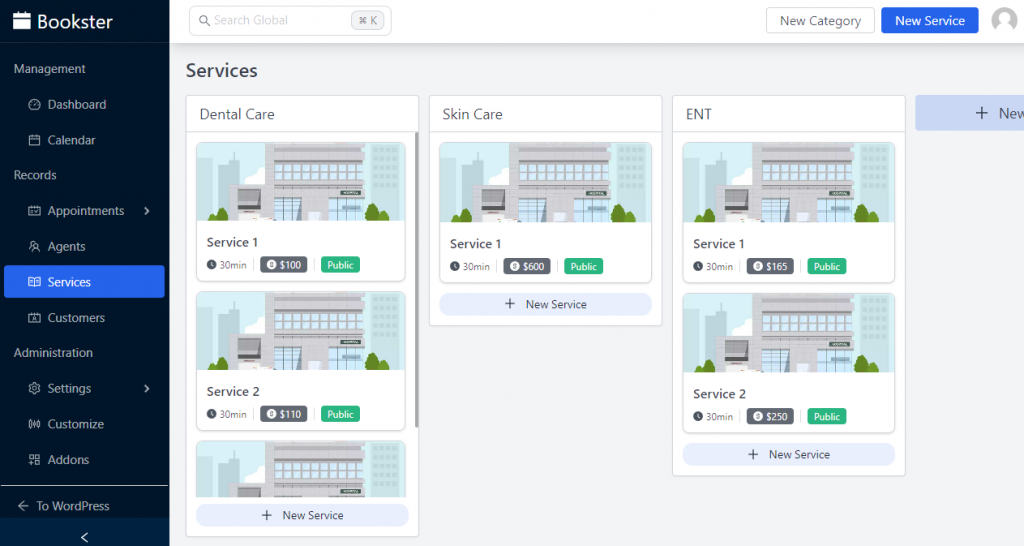
While you create services, you can also choose to assign them to all agents or specific ones.
So far, we have created agents for your business and the services users can book. The next main thing you should do is set up the booking form. To do that, you need to open the settings page.
Bookster Form Customization
On the left-hand side, you can see the Bookster settings.
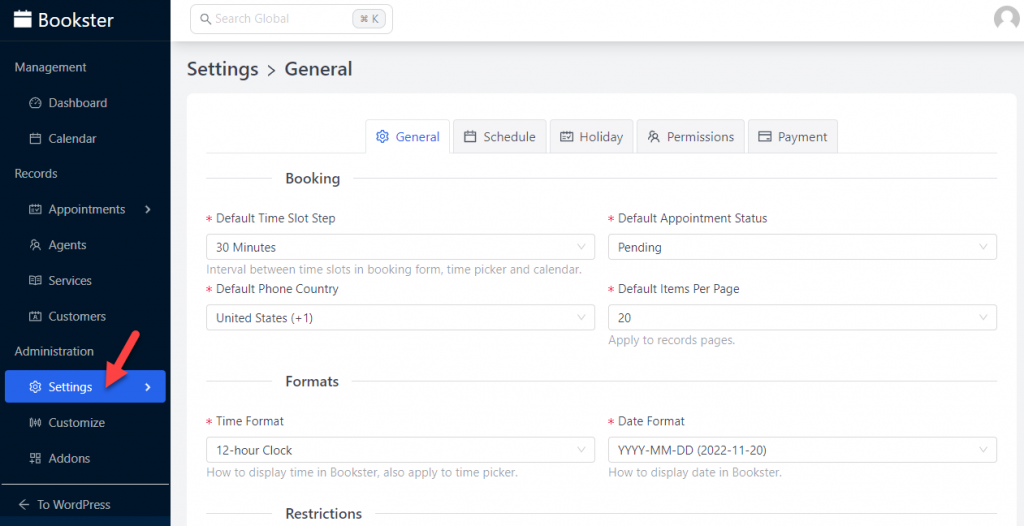
As you can see in the screenshot, there are five customization options.
- General
- Schedule
- Holiday
- Permissions
- Payment
From the general settings tag, you can customize basic options such as:
- Default time slot
- Default appointment status
- Default phone country
- Items per page
- Time format
- Date format
- Restrictions
And so on.
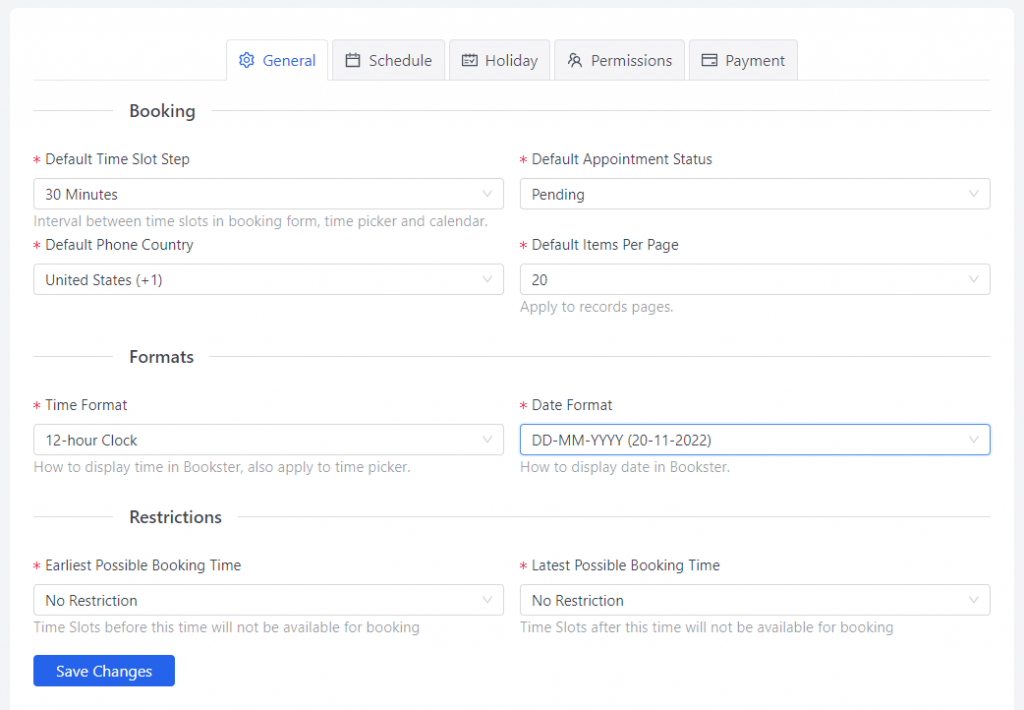
Once you have modified the options according to your preferences, save the settings. Then, you can move to the schedule option.
You can add your business hours here:

Besides the non-working days, you can also mention holidays in the plugin settings.
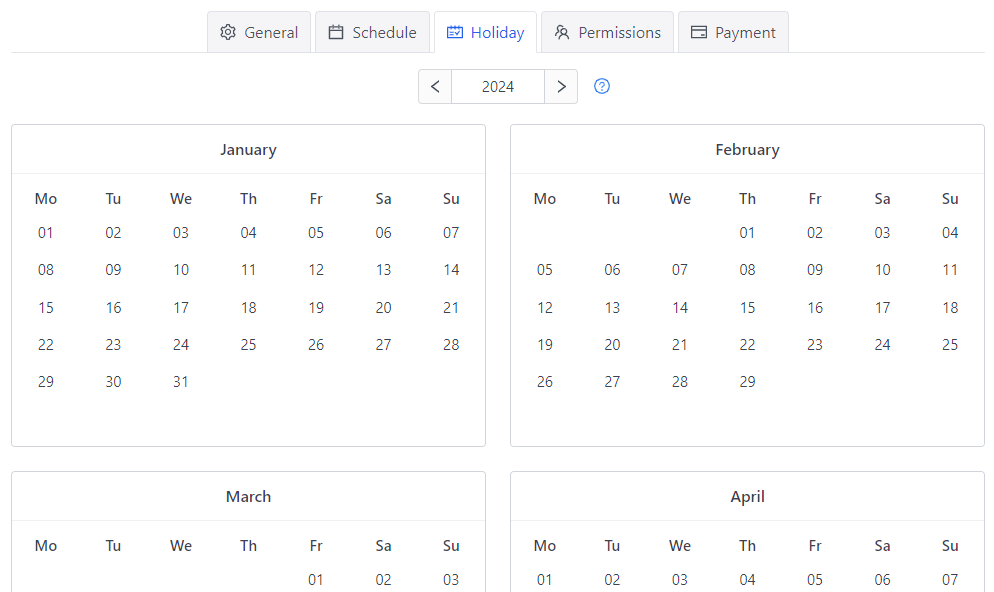
When you mark holidays, no booking slots will be available on this particular date, whether it is a working day or not. Next, you have the permission settings.
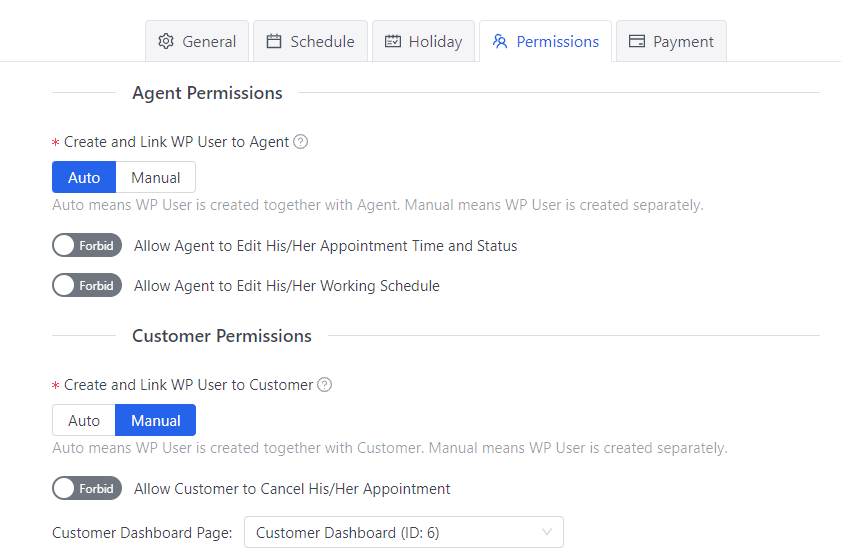
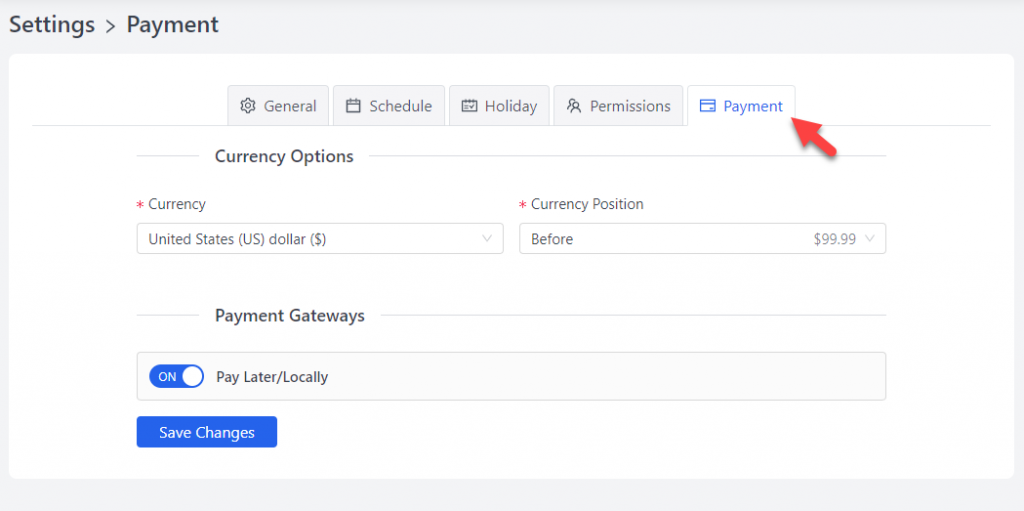
You can customize it according to your preferences. The final option you will see is the payment tab.
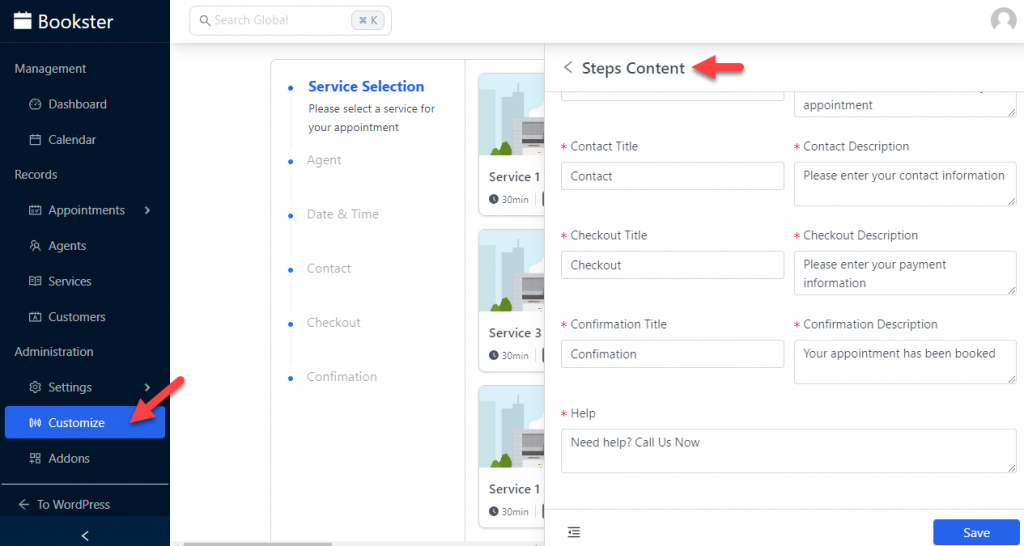
Next, you can modify the step’s content. You can do this task from the customize option.
Once you have created the form, it is time to embed it.
Embedding the Form
To embed the form on your website, go to the page and enter this shortcode: [bookster_booking_form].
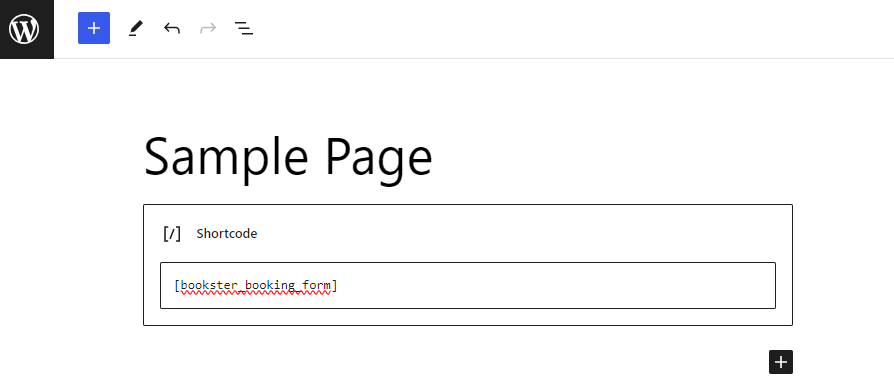
Publish or update the page once you have added the shortcode.
Testing the Multi-Step Form
Check the page on which you have embedded the shortcode from the front end. You will see the booking form there.
As you select services, you will be moved to the next step. Here’s a sample.
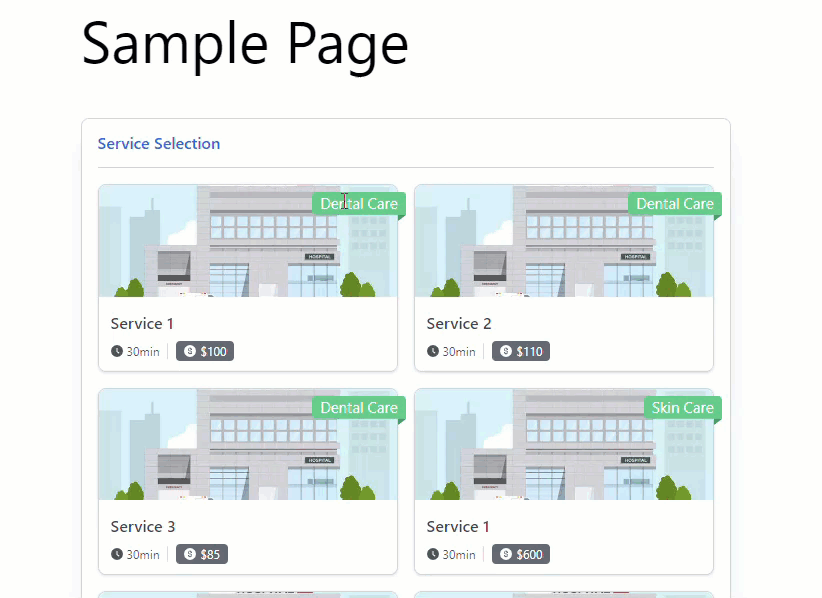
The form is divided into multiple parts, which is excellent for user experience.
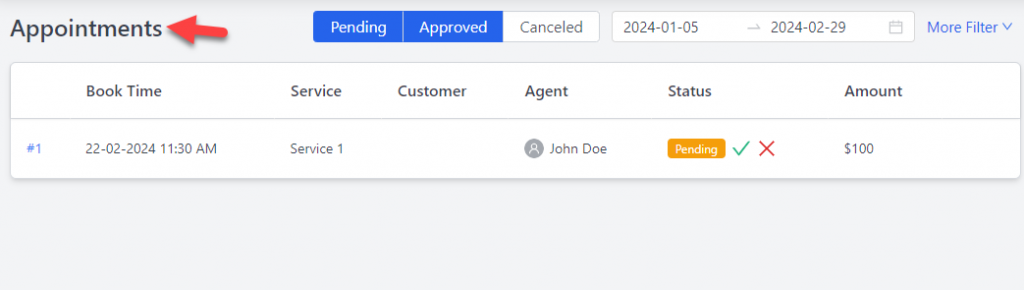
Plus, you can log in to the website’s backend and see all the pending bookings from the Bookster settings.
That’s it!
This is how you can create a multi-step reservation form in WordPress.
Conclusion
If you run a business that needs appointment booking, forms play a vital role. When you must collect a lot of customer data, breaking the form into multiple parts is mandatory.
The right appointment booking plugin can help you with this task. As you can see in this tutorial, with the Bookster plugin, you can create a multi-step reservation form for free. The plugin also doesn’t have any technical/coding side, so anyone who needs to run an appointment booking form is welcome.
Besides the easy-to-use features, the plugin’s user interface is better than most of its competitors. When you need to use an appointment booking plugin for WordPress, we highly recommend trying Bookster.
Are you going to create a multi-step reservation form in WordPress?
Let us know what you think!