
Do you want to add real-time booking in WordPress? Adding a booking system to your website would be excellent if you offer customer services.
This way, your customers can pick a date and time according to their convenience, pay online, and get to your store without hassle. When you add a booking system, there won’t be a queue of customers waiting for the agent or any other mess.
A robust CMS like WordPress and a booking management plugin can facilitate the creation of a booking system. Continue reading to learn how to do this.
This post will show you how to set up real-time booking in WordPress with the #1 WordPress appointment booking plugin – Bookster.
Before proceeding with the tutorial, let’s determine who needs to add a booking system to their website.
Who Needs to Add a Booking System to the Website
Anyone dealing with a customer-centric business or relying on customer services can add a booking system to their website. Here is a set of companies that can use the booking systems to improve their conversions and user experiences:
- Salons
- Fitness Centers
- Medical Clinics
- Tutoring Services
- Pet Grooming Services
Now that you know who can use the booking system, the next section will show you what to look for in a WordPress appointment booking plugin.
What to Look for In a WordPress Booking Plugin
When you need an appointment booking plugin for your WordPress website, consider these factors:
- Core features: Check what the plugin has to offer. Every appointment booking plugin comes with unique features you can use. Hence, check their features before completing the purchase.
- Payment gateway integrations: If you plan to accept payments online, which is ideal, you should consider using any plugin with online payment gateways. These days, plugins can be integrated with PayPal or Stripe.
- Email marketing integrations: Similar to payment gateway integration, you should consider using any email marketing integration. This way, you can build your email list without much hassle.
- Pricing: Several free, freemium, and premium appointment booking plugins are available. Choose one according to your budget.
- Support: The support team is the right people if you need help with the plugin. So, a plugin with an excellent customer support team is a plus.
- Updates: It would be great if you could get a plugin with regular updates. Developers release new plugin versions with better features, bug fixes, etc. So, ensure the selected plugin will get regular updates.
In the next section, we will move to the article’s core, explaining how to enable real-time WordPress booking.
Without any further ado, let’s get into the tutorial.
How to Set Up Real-Time Booking in WordPress
As mentioned, we will use the Bookster plugin for the booking system. Since it is a free WordPress plugin, you can install it directly from the repository. So, go ahead and do that.
Once the activation is completed, you can see the plugin’s settings on the left-hand side.
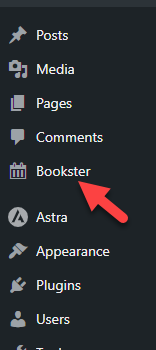
The first thing you should do is go through the setup wizard. Bookster will help you customize the experience with their walkthrough configuration options.
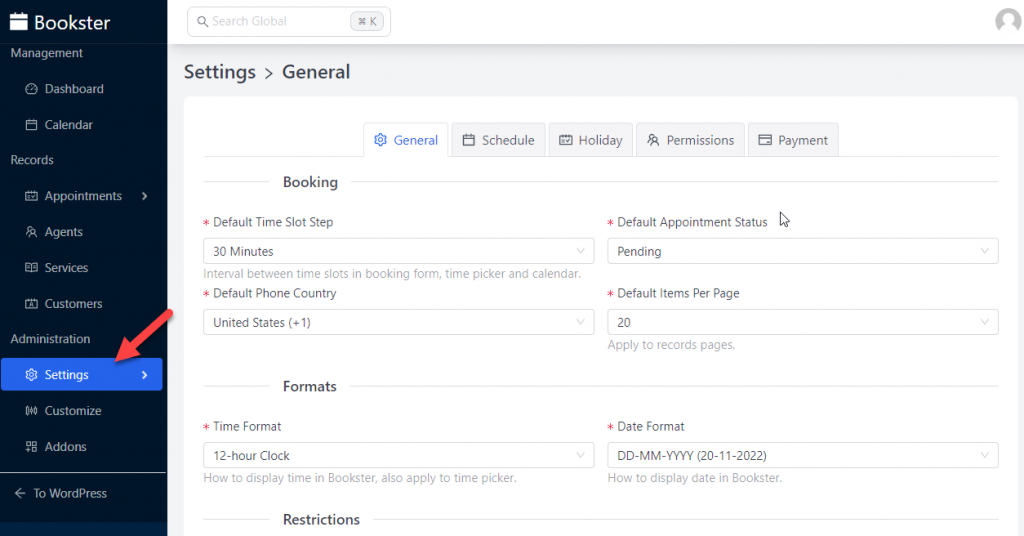
Inside the configuration wizard, you will see the general settings.
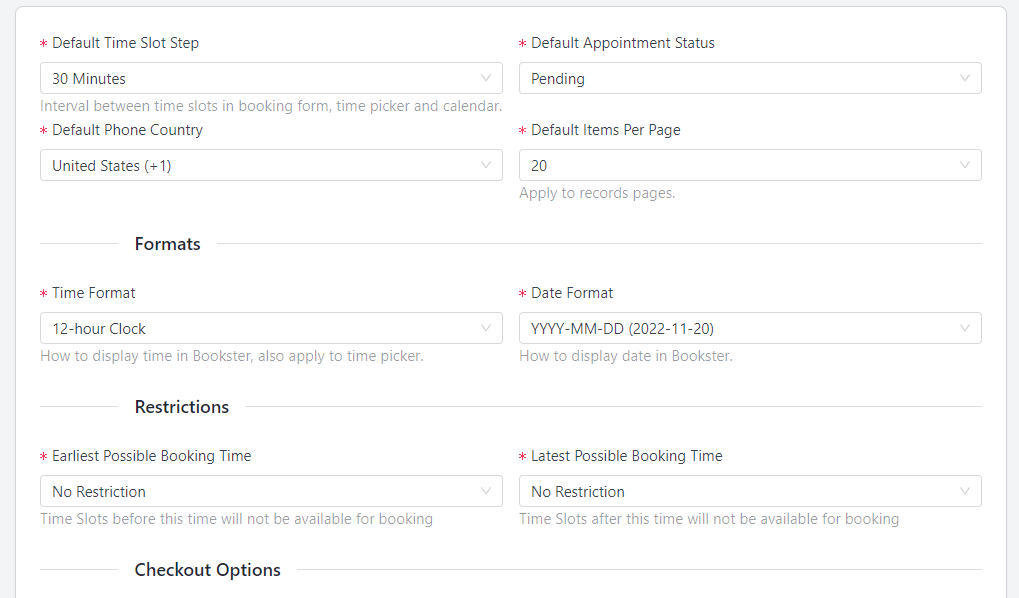
The options available are:
- Default time slot
- Default appointment status
- Default phone country
- Default items per page
- Time format
- Date format
- Earliest possible booking time
- Latest possible booking time
- Currency
- Currency position
Once you have completed the configuration, you can move to the next stage – schedule settings.
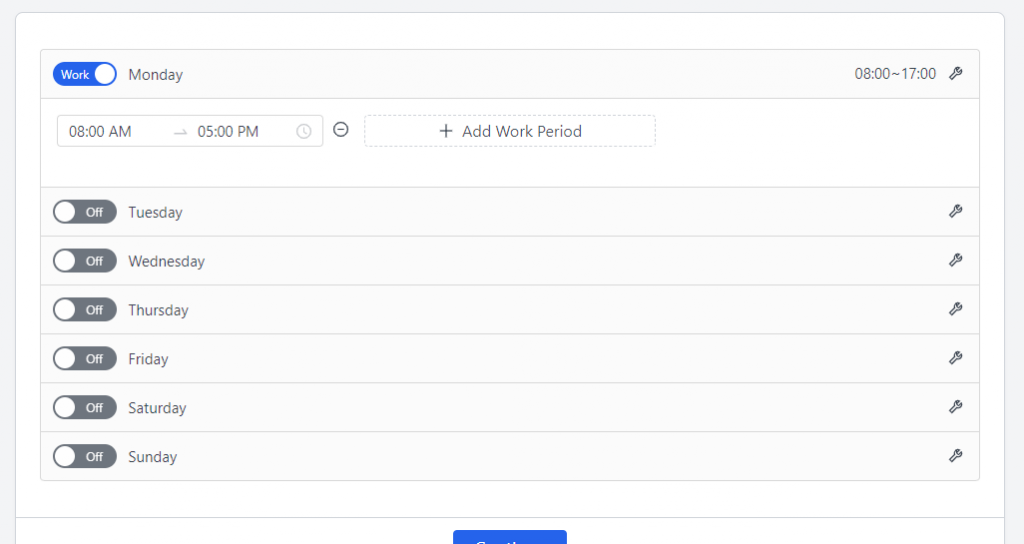
You can pick the days you are open. You also have the option to choose a work period. In this case, we will select every day except weekends.
Next, you need to choose the services.
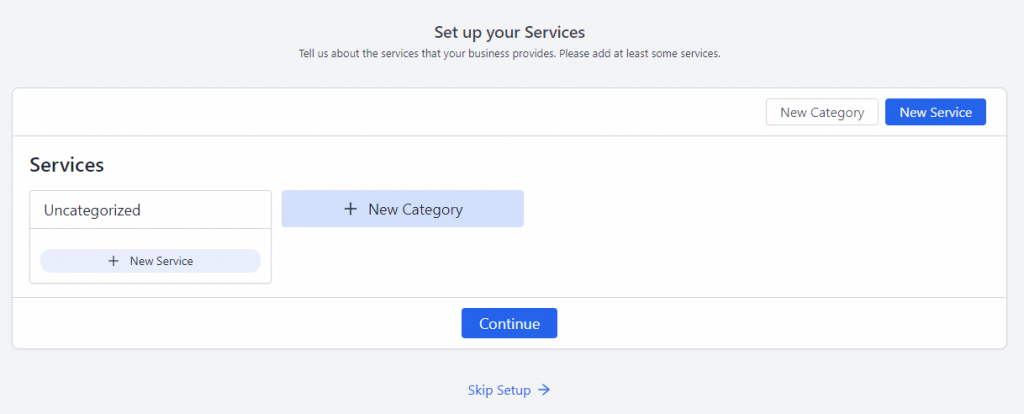
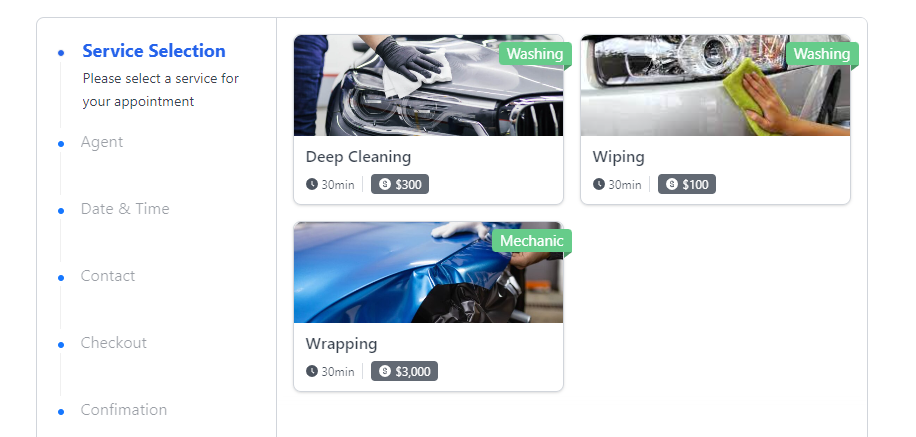
Adding multiple calories and assigning services under them might be a good option. For example, if you run an automobile workshop, you can create services like Washing and assign cleaning, wiping, and deep cleaning under the category.
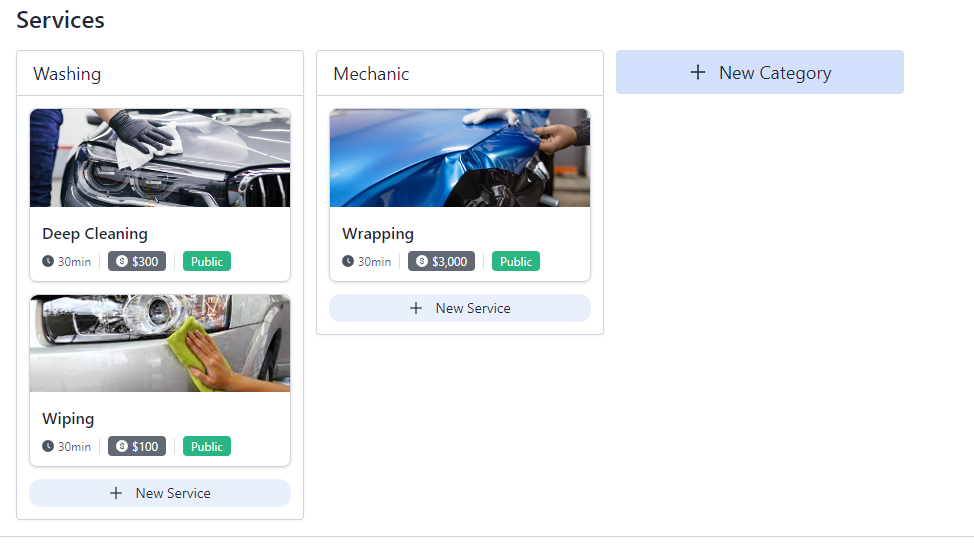
As you know, washing is just one of the many features an automobile shop can offer. So, you can list more categories and the service without any issues. In this case, we have modified the services section like this:
Remember that whenever you create a service, you have multiple customization options.
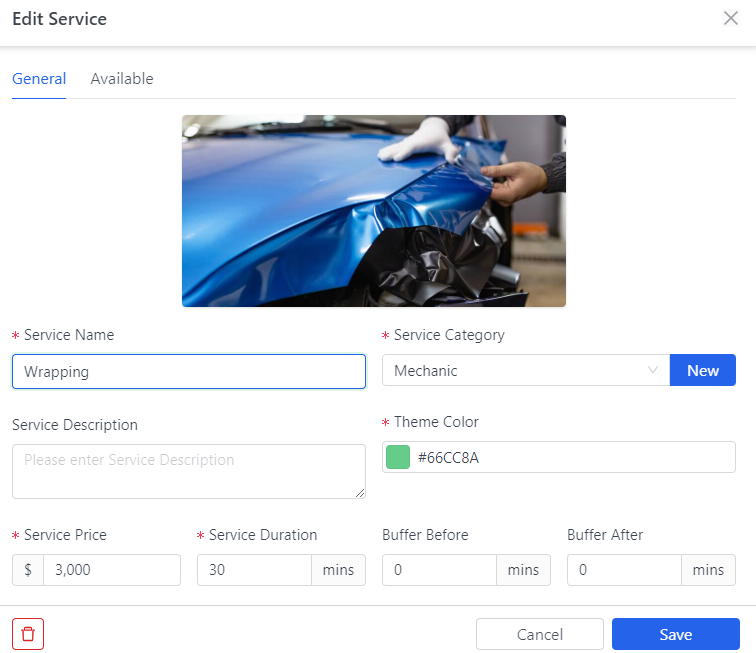
For example, you can tweak the
- Service name
- Service category
- Description
- Theme color
- Price
- Duration
- Buffer before
- Buffer after
- Active/inactive
- Service visibility
Once you have completed the data, move to the next step. From there, you can create agents for your services.
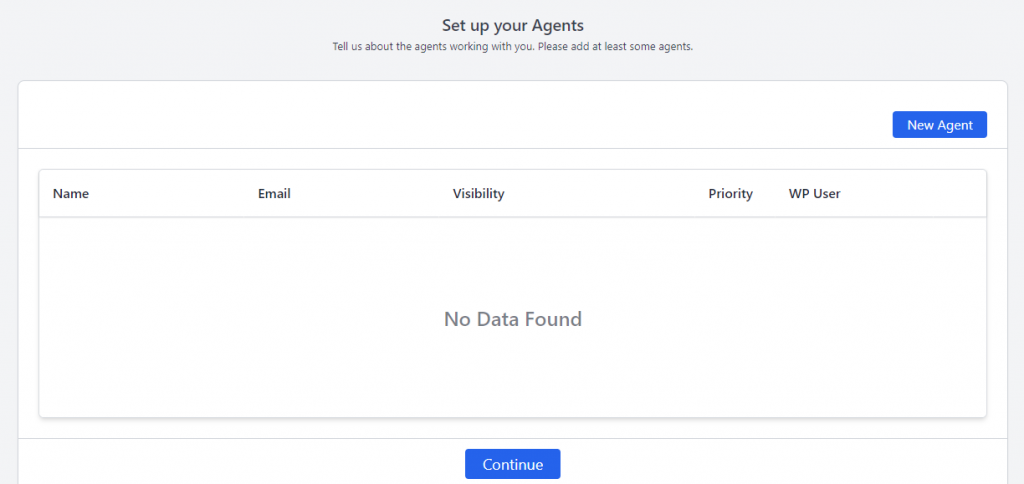
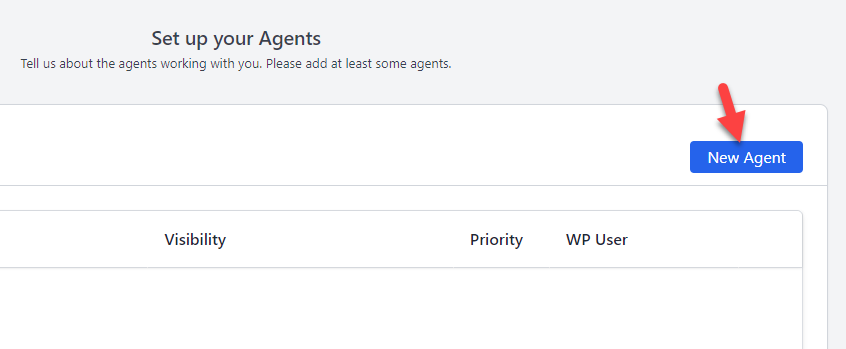
Bookster allows you to create as many agents as you need. To create an agent, click on the New Agent button.
As you can see in the screenshot below, there are four main options for creating an agent on your appointment booking website.
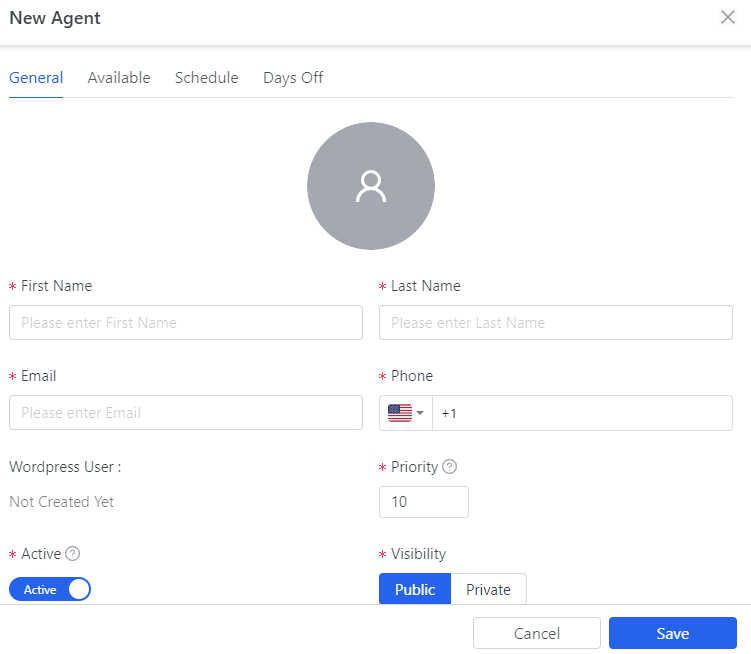
- General
- Available
- Schedule
- Days off
You can modify the agent’s name, email, and phone number from the general settings. The available section will help you choose the services the agent can perform.
You can set a custom weekly schedule for this agent with the scheduling option. Finally, if you need to give days off to this particular agent, you can use the fourth option. After creating agents, you need to go to the next step.
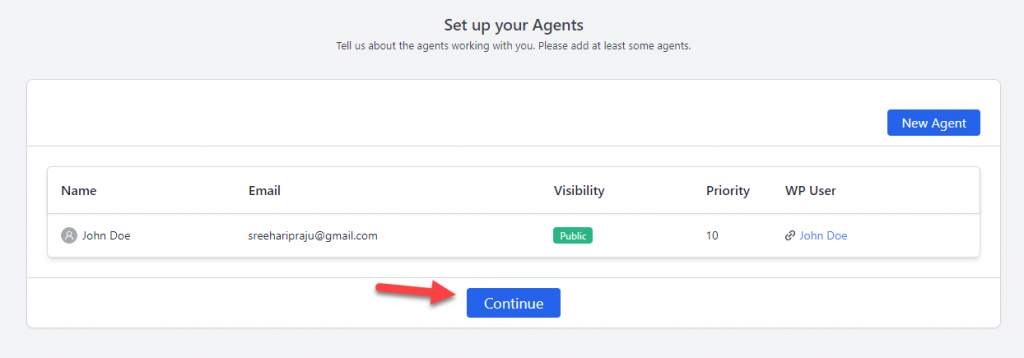
You can add the booking form to your website from the last step. Also, the page allows you to customize the site, its homepage, and so on.
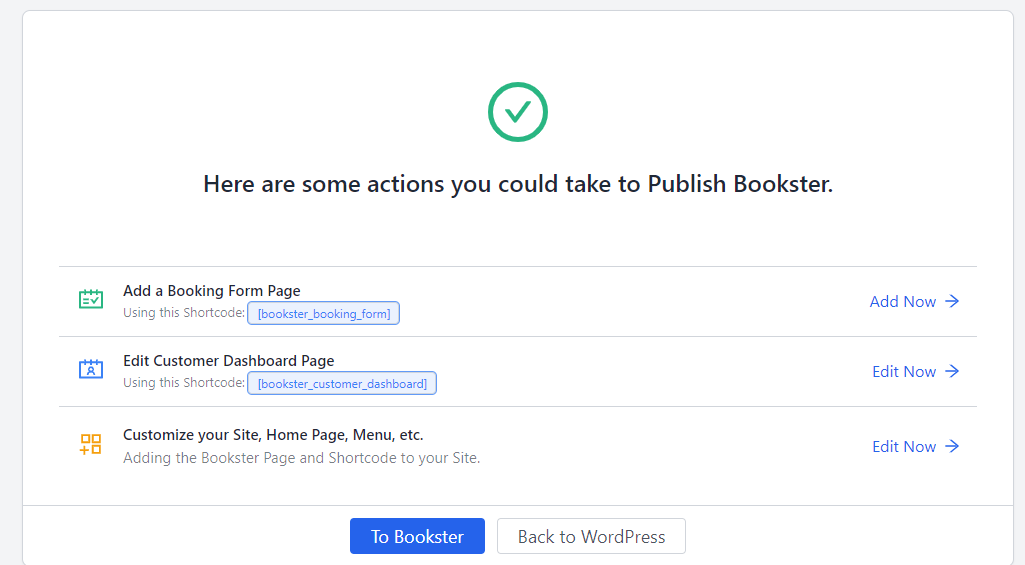
However, you can always do this later according to your preferences. You can go to the Bookster dashboard or WordPress dashboard now. Whenever you need to embed the booking form on your website, use the [bookster_booking_form] shortcode.
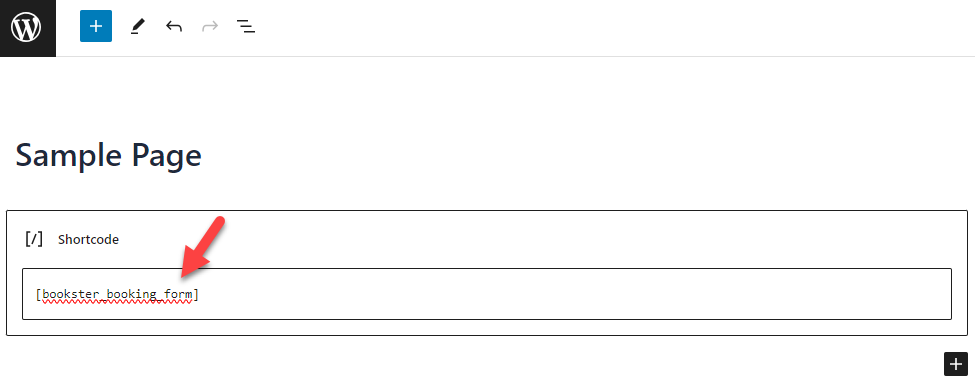
Now, check the page from the front end. You will see the live booking form there.
Your users can book the service through the form without hassle.
That’s it!
This is how you can set up real-time booking in WordPress.
Bonus: Additional Bookster Features Explained
Now, let’s take a closer look at Bookster settings and features.
Bookster has an elegant dashboard.
The main options you can see are:
- Management
- Dashboard
- Calendar
- Records
- Appointments
- Agents
- Services
- Customers
- Administration
- Settings
- Customize
- Addons
Let’s take a closer look at each option.
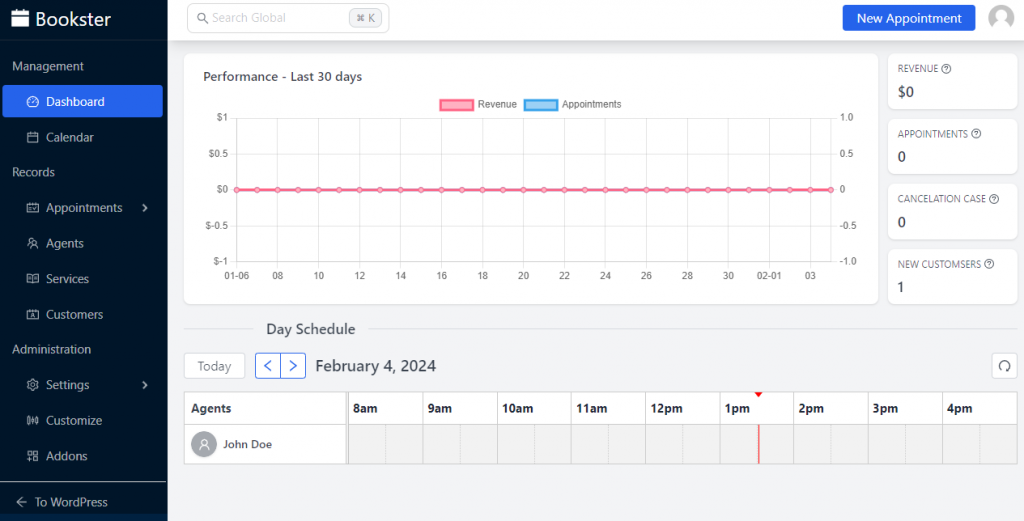
Dashboard: The dashboard will show you how your business is doing.

As you can see in the screenshot, the dashboard has a graph that displays revenue, appointments, agents and their bookings, customer count, cancellation cases, and so on.
Whenever someone book an appointment via the form, they will be moved to the pending customers. Once you have approved it, the data will be available here.
Calendar: From the calendar section, you can see all the reservations.

There are day views, week views, or month views. You can pick one from the dropdown menu based on your preferences.
Appointments: When someone uses the appointment booking form, you can see all the pending appointments on this page.
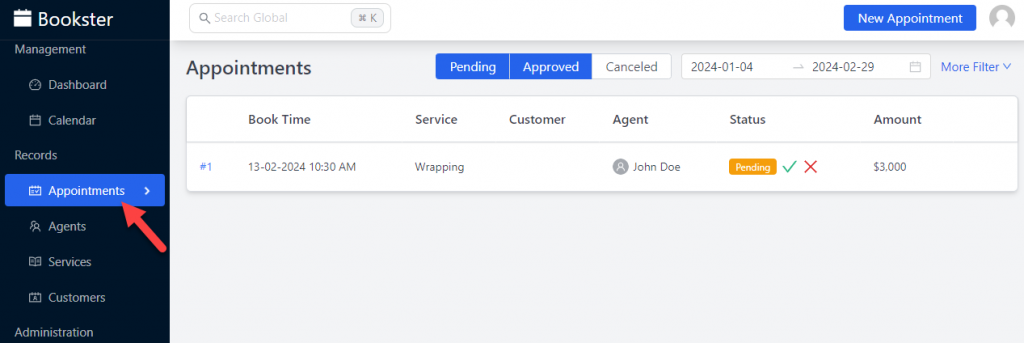
From here, you can approve the appointment or cancel it.
Agents: Inside the agent’s tab, you can see all the agents you have.
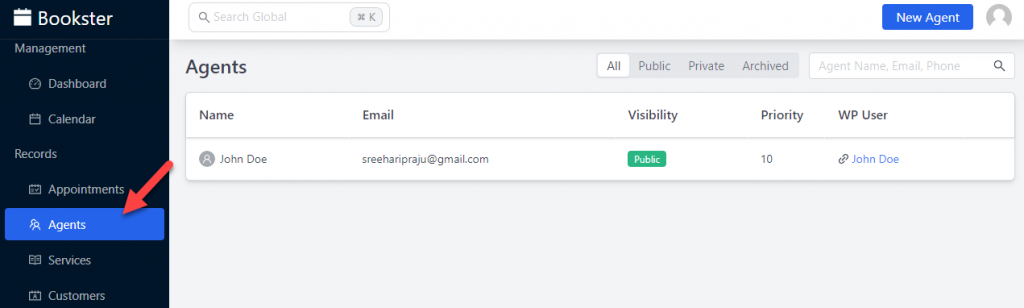
You can also add agents via the same page.
Services: Here, you will see all the existing services.
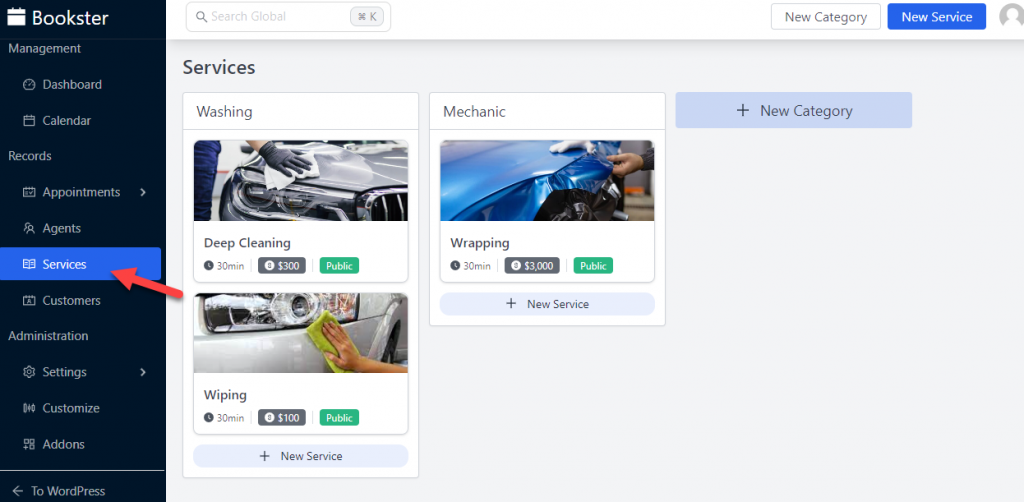
From the page, you can also create new services.
Customers: The plugin automatically creates customers when people use the appointment booking form.
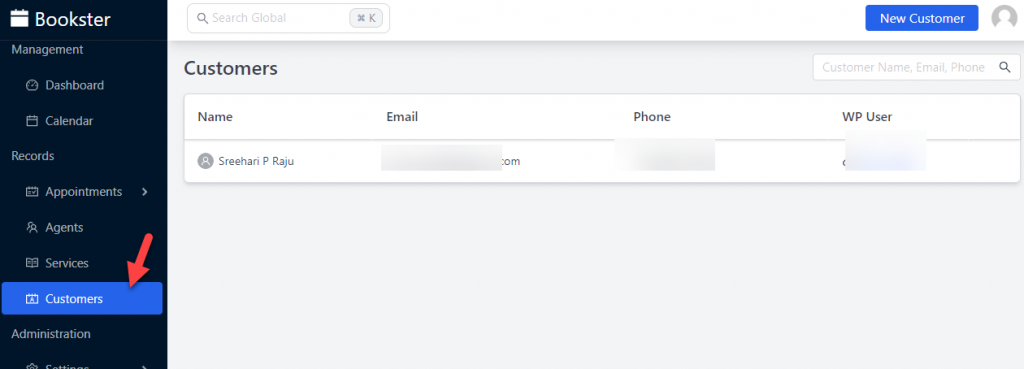
You also have the option to create customers manually.
Settings: There are multiple configurations available in Bookster.
The main options available are:
- General
- Schedule
- Holiday
- Permissions
- Payment
Based on your preferences, you can modify the options.
Customize: From the Customize section, you can tweak the design and text of the booking form.

Some design features are unavailable since the plugin is still under development and optimization. However, you can edit the step’s content without any issues.

Once you have done with this, let’s move to the addons section.
Addons: Most of the addons will be released soon. As of February 2024, a few are available, such as taxation and the Stripe payment gateway.
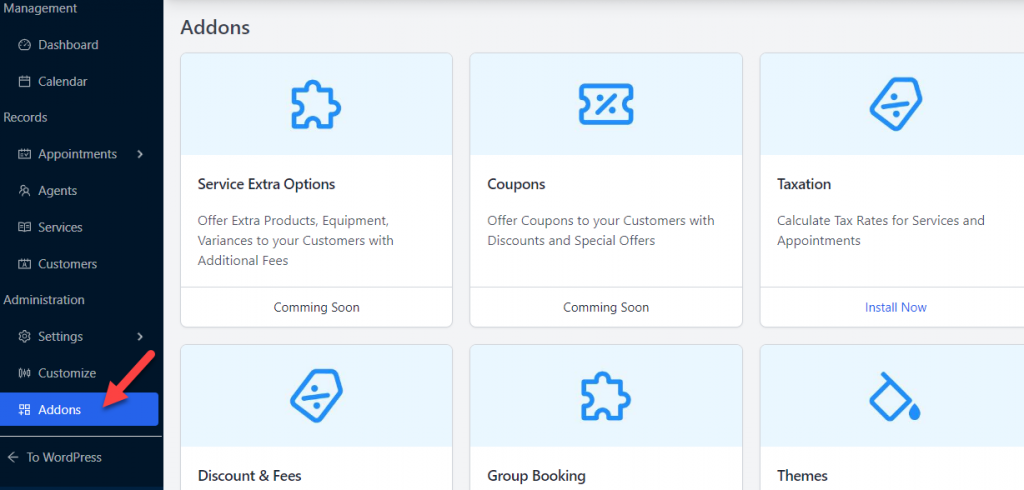
You can enable the addons you need and start customizing it. All the customizations would be simple and don’t require any coding knowledge.
The following section will show you how to complete a service booking using the booking form.
How to Use the Booking Form
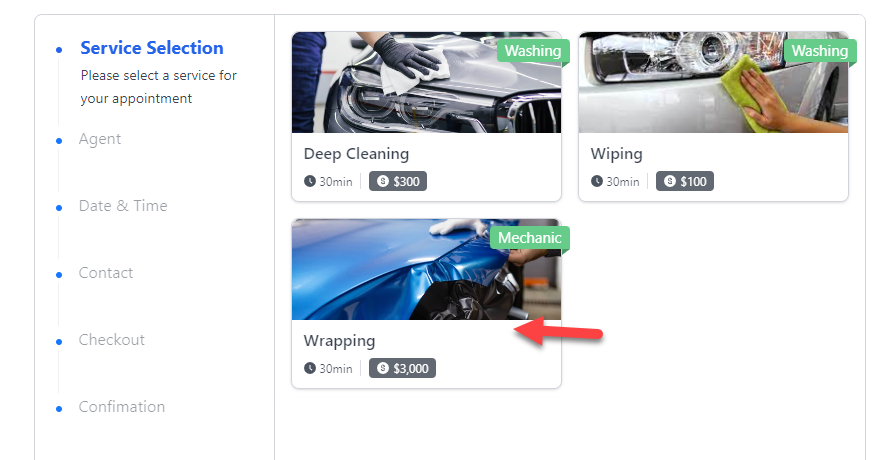
In this section, we will show you how to use the booking form created with Bookster. Once you add the shortcode to the page, the form will be displayed on the front end.
The first thing you need to do is select the service you need.
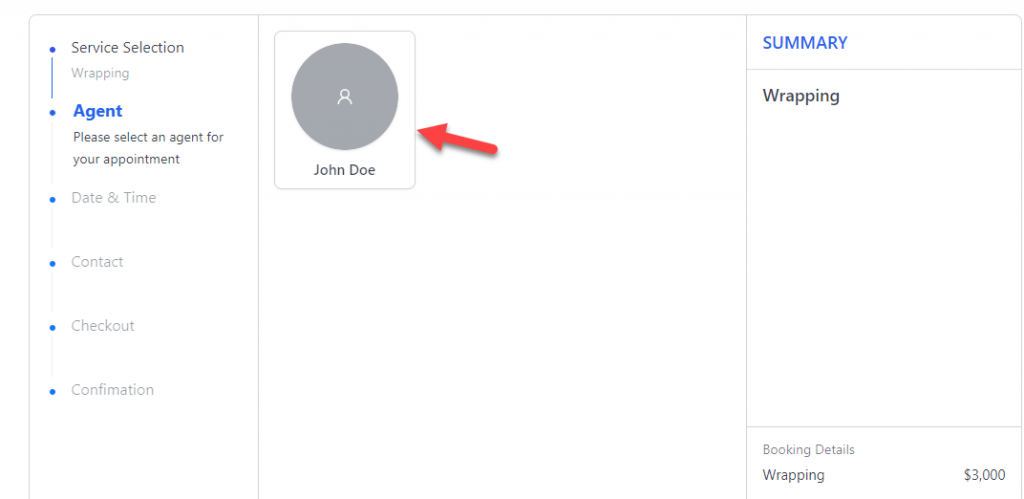
In the next step, you have the option to select an agent. If you have multiple agents, all of them will be listed on the page.
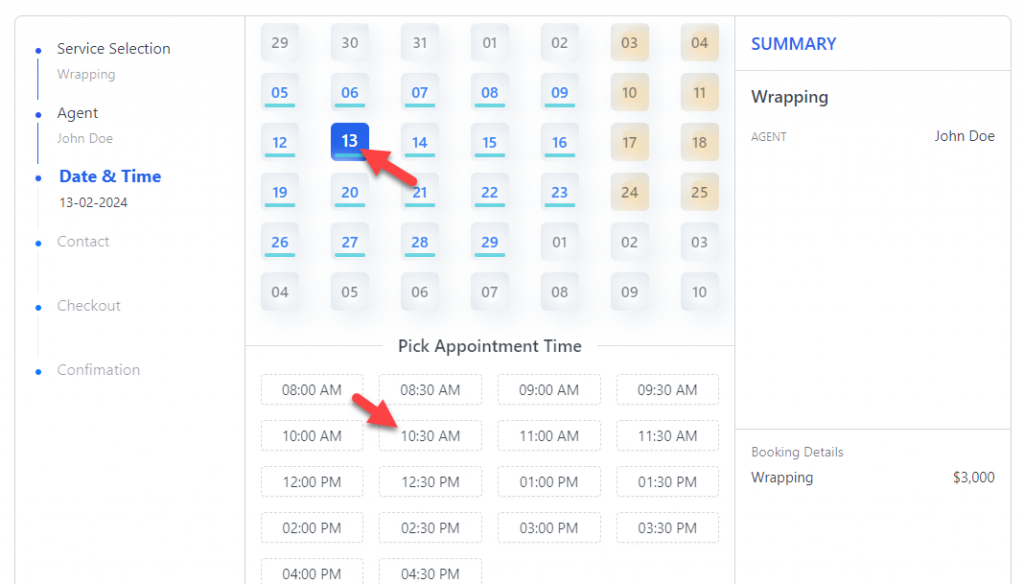
Next, pick a date and time for the appointment.
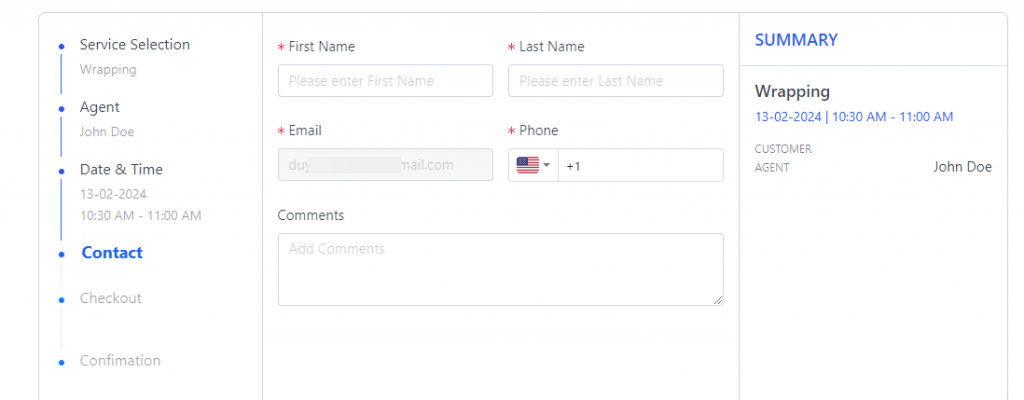
Next, enter your contact details.
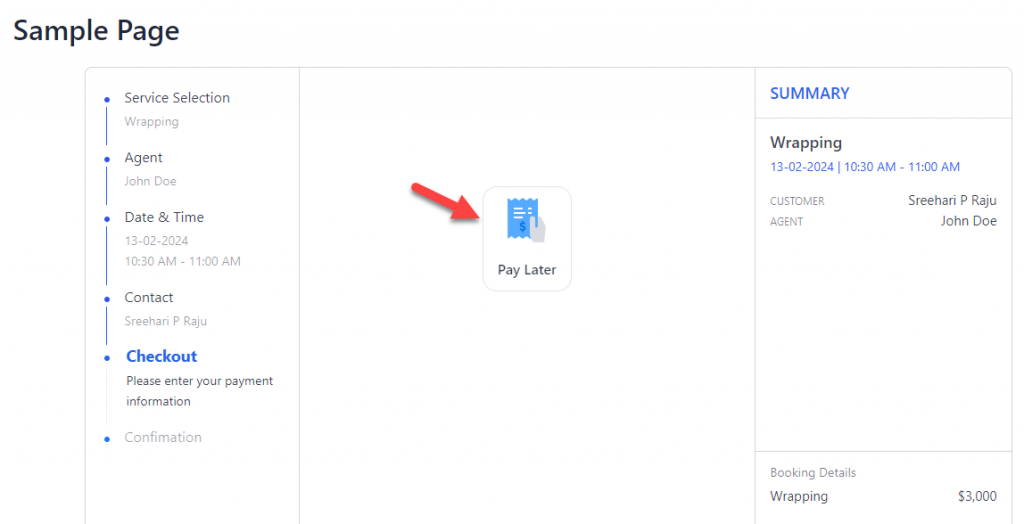
You will be redirected to the payment settings. You can complete the payment online if you have configured an online payment gateway. Otherwise, you can pay offline when you are at the service center.
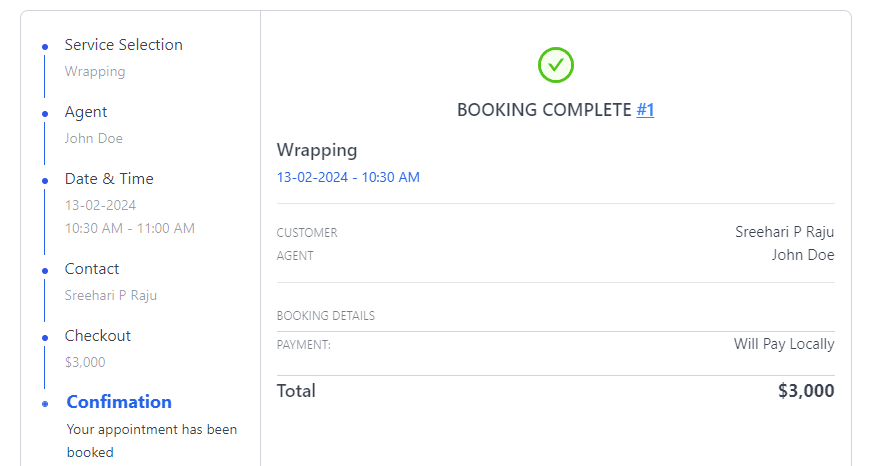
Finally, the plugin will show you a booking completed notification.
Get Started with Bookster
Here is the link to get the Bookster plugin.
Conclusion
If you plan to run an appointment booking website, WordPress and a booking plugin will help you with this task. As you know, WordPress is the best CMS for creating any type of website.
So, combining WordPress with an appointment booking plugin will help you create an appointment booking system with all the features you need. As you know, there are several booking plugins available for the task.
But we will always recommend the best one – Bookster. As you have seen in this article, setting up Bookster is simple. No coding is required, and you can create as many agents or services as you need.
The seamless integration with the payment gateway will help you collect payments online. The booking process will be smooth, and your visitors or customers will love the experience.
Have you configured real-time booking on your WordPress website?
Let us know in the comments!