
Do you want to create custom footer in GeneratePress? If you are looking for a simple guide, read on.
GeneratePress is known for its lightweight structure, flexibility, and performance-focused design, making it a popular choice for WordPress users who want full control over their website layout.
One area many site owners want to customize is the footer, as it plays an important role in branding, navigation, and user experience. By default, GeneratePress provides a simple footer layout, but it also offers multiple ways to create a fully custom footer without compromising speed or stability.
In this guide, you will learn how to create a custom footer in GeneratePress using built-in customization options, GeneratePress Elements, and other practical methods. Each approach is explained step by step, making it easy to follow even if you are new to WordPress or GeneratePress.
First, let’s take a look at why you need to create custom footer in GeneratePress.
Table of Contents
Why You Need to Create Custom Footer in GeneratePress
The footer in GeneratePress is more than just a closing section of your website. Creating a custom footer in GeneratePress helps improve branding, usability, and SEO while maintaining full control over layout and content.
The GeneratePress theme, especially when paired with GeneratePress Premium, offers flexible, user-friendly options for customizing the footer using blocks, widgets, plugins, or custom code.
- A custom footer in GeneratePress helps you display essential elements such as navigation menus, social media icons, copyright info, and site name in a clean site footer layout.
- Using the GeneratePress footer with the Elements module and block element type makes it easy to design a responsive footer without touching PHP or HTML.
- You can customize the footer using the block editor, the GenerateBlocks plugin, or the GenerateBlocks Pro to create columns, icon lists, and container blocks with complete control over content width and background color.
- Creating a custom footer using widgets or footer widgets allows you to add menus, image widgets, HTML widgets, and even an Instagram feed.
- Advanced users can create a custom footer using a child theme, snippets, CSS, or custom templates while keeping the parent GeneratePress theme safe during updates.
- Display rules in the Elements module let you select where the footer appears, such as the entire site or specific pages, improving flexibility and SEO.
- A customizable footer improves user experience, supports responsive design, and simplifies layout management directly from the WordPress dashboard.
How to Create Custom Footer in GeneratePress
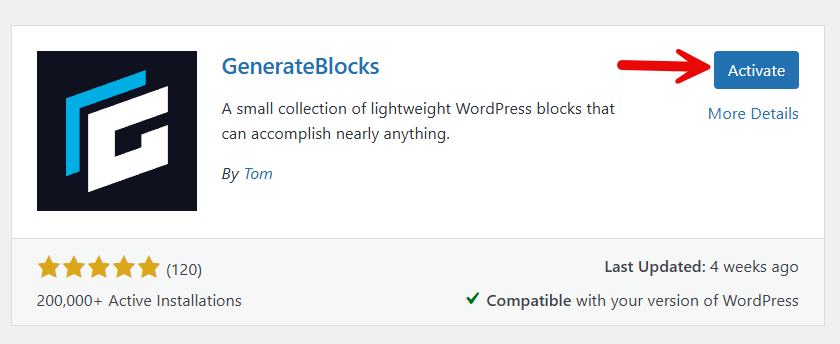
Now, let’s see how to create custom footer in GeneratePress. You need to use the GenerateBlocks plugin. It is a freemium plugin, and the free version is good enough. First, install and activate GenerateBlocks on your website.
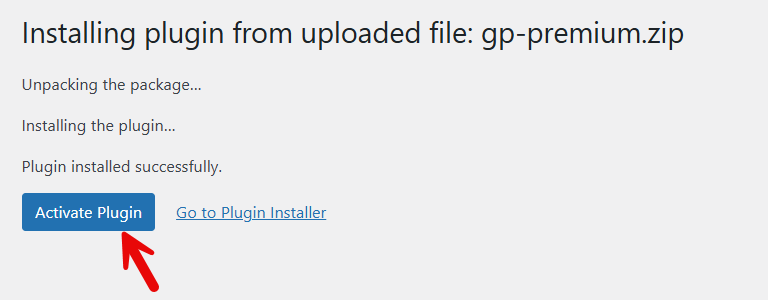
Now you need to activate the Element module available in the GeneratePress settings. It is a premium feature, so you need the GP Premium plugin to unlock it. So activate GP Premium on your website.
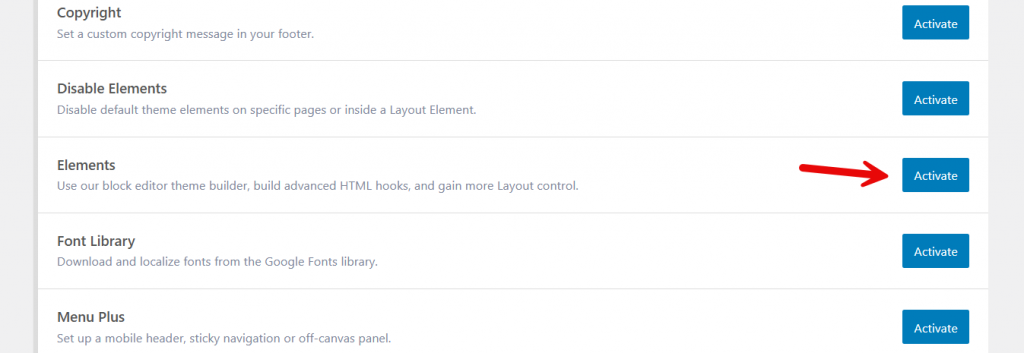
Now enable the Elements module.
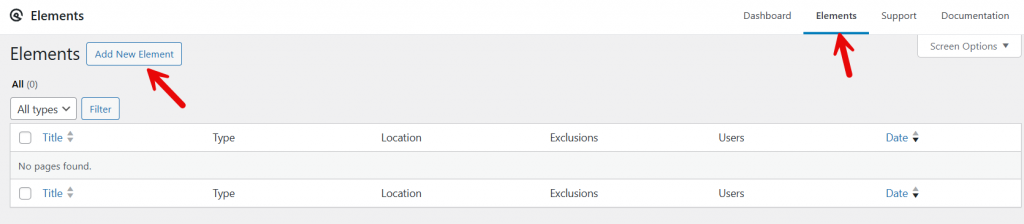
In the top section, you can see the elements option. There, you need to add a new element.
The element type should be blocks.
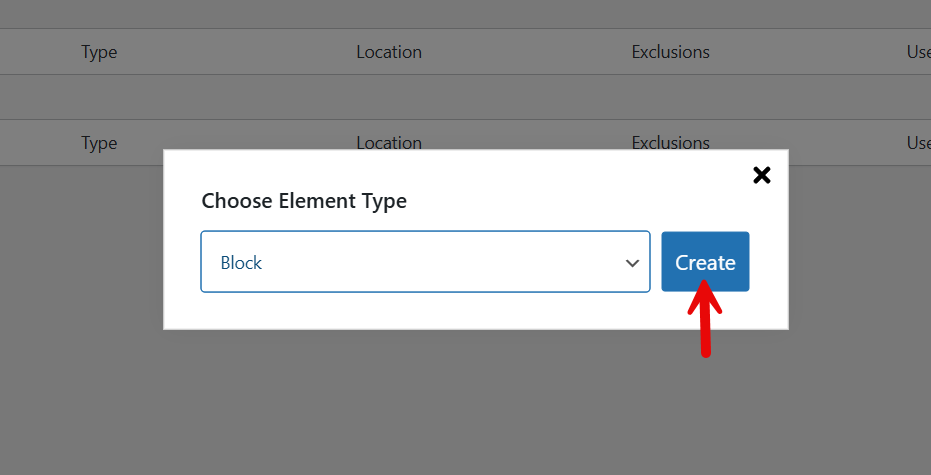
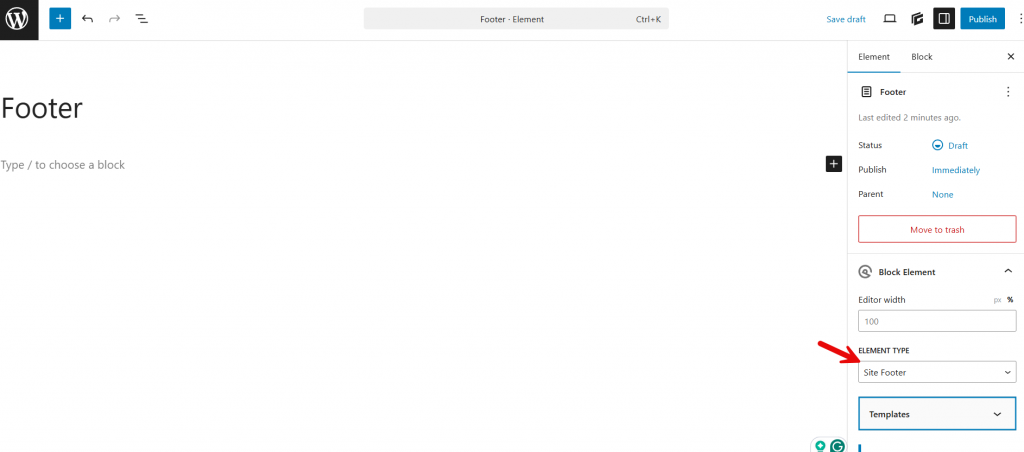
Now name your element and set the site footer as the type.
There are two pre-made templates available. So, you can choose one of them.
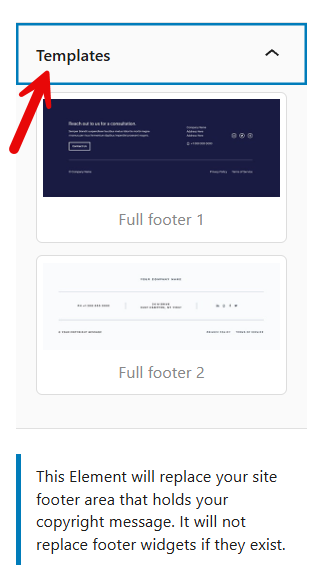
Pick a template from there, and that would be inserted into the editor.
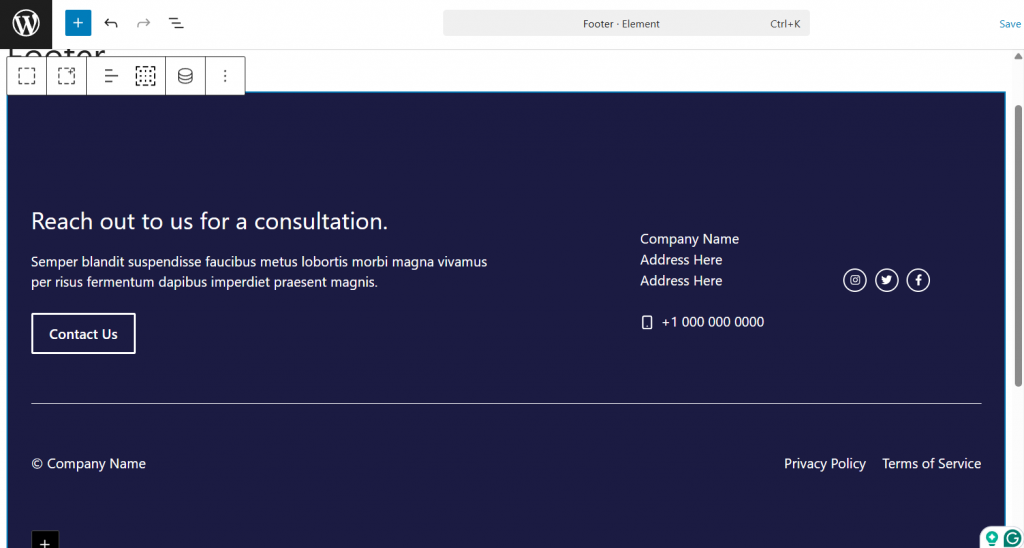
With GenerateBlocks, you can customize the footer. Once you are done with the customization, you can start editing the display rules.
In the location, choose the entire site.
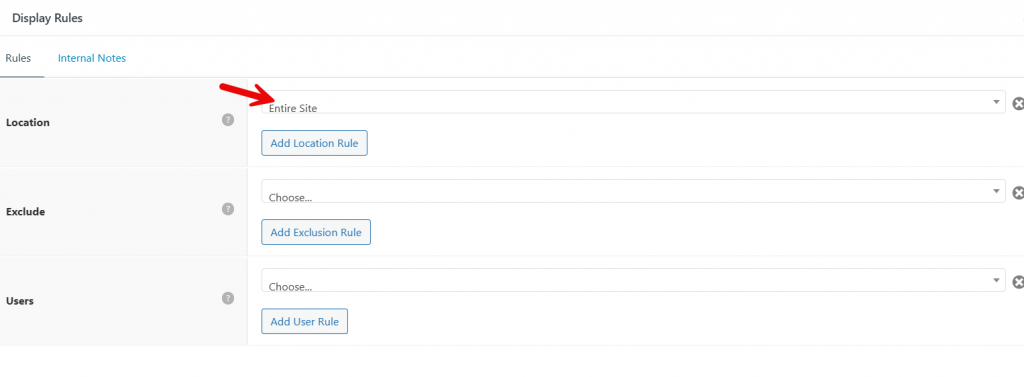
Publish the hook after that. Now you can access the website from the front end and see the footer.
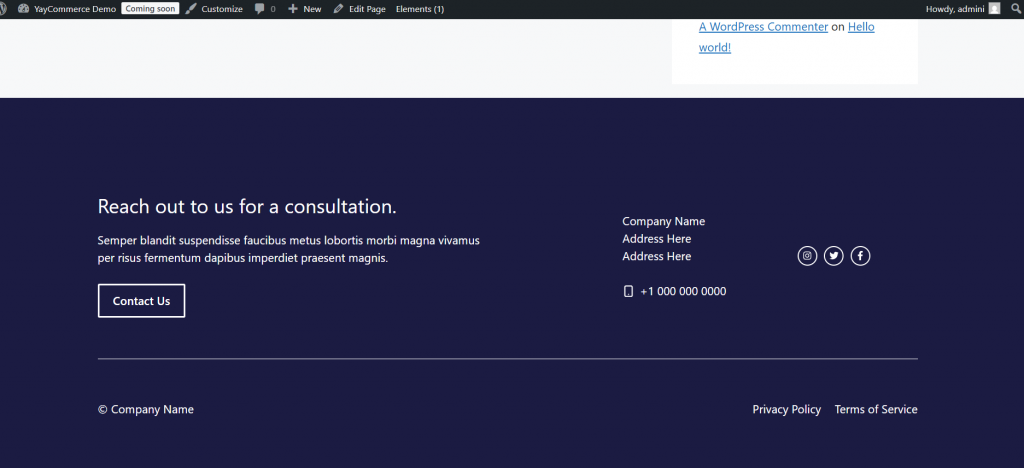
That’s it!
This is how you can
Frequently Asked Questions
Now, let’s take a look at some of the frequently asked questions and answers regarding this topic.
Can I create a custom footer in GeneratePress without using a child theme?
Yes, you can create a custom footer in GeneratePress without a child theme using the Elements module in the premium GeneratePress theme. This approach lets you customize the footer in the GeneratePress theme safely, without editing theme files or adding a code snippet.
Do I need GeneratePress Premium to customize the footer?
To fully customize the footer in GeneratePress using block elements, display rules, and advanced layout options, you need the GeneratePress Premium theme. The free version allows basic footer settings, but custom footer creation requires the Elements module.
Can I build a GeneratePress footer using Elementor?
Yes, Elementor can be used to create a custom footer in GeneratePress. You can design the footer in Elementor and assign it to the site footer via plugins or GeneratePress settings, providing a flexible option for WordPress users.
How do I add widgets to the footer in GeneratePress?
You can add footer widgets by going to the WordPress dashboard and enabling widget areas in the GeneratePress footer settings. This allows you to place menu widgets, text widgets, or other plugins directly into the site footer.
Is it possible to create a footer using the GenerateBlocks plugin?
Yes, using the GenerateBlocks plugin is one of the best ways to create a custom footer. After you install the GenerateBlocks plugin, you can use block elements, adjust the number of columns, and style everything from top to bottom using the block editor.
Why is my custom footer not showing on the front end?
If your custom footer is not visible, check that you have selected the correct display rules and published the element. You may also need to clear your cache or verify that another plugin on your site isn’t overriding the GeneratePress footer.
Can I control where the custom footer appears on my WordPress site?
Yes, GeneratePress lets you control footer visibility with display rules. You can show the custom footer across the entire site, on specific pages, or exclude areas such as the primary navigation, giving you full control over how the GeneratePress footer is displayed.
Conclusion
Creating a custom footer in GeneratePress gives you complete control over how the site footer looks and functions across your WordPress theme.
Using the GeneratePress footer options, you can customize the footer with widgets, block elements, or plugins like Elementor and GenerateBlocks.
The Elements module in the GP Premium version allows you to create a custom footer in the GeneratePress theme with flexible display rules, layout controls, and styling options. From adding footer, menu, and icon list widgets to adjusting columns, hover effects, and gradient styles, everything can be managed from the WordPress dashboard.
This step-by-step tutorial helps you enable a customizable footer element that enhances navigation, branding, and the user experience on the front end.
What else are you planning to do with your GeneratePress website?
Let us know in the comments.