Do you want to build a social network and community website with WordPress? If you are looking for the best guide, keep reading this article. Here, we will show you why you should start your social network.
There are several social networks.
The most popular ones are Facebook, X (previously known as Twitter), Instagram, and so on. But have you ever thought about creating your social network and helping people connect? If you have, today is your lucky day.
Without writing a single line of code, you can build a social network with ease.
If you are interested in this topic, keep reading this article. Here, we will show you how you can do this task without any technical knowledge.
But first, let’s see why you should build a social network and community website.
Table of Contents
Why Build a Social Network and Community Website?
The primary motivation for constructing a social network or community website lies in the fundamental human need for connection and belonging. In our increasingly digital world, these platforms serve as modern-day town squares where individuals can gather, share experiences, and build relationships transcending geographical barriers.
Here are the main reasons to build a social network or community website:
- Mental Health and Well-being: By facilitating a sense of community, social networks can combat loneliness, which is increasingly recognized as a significant public health issue. They offer outlets for expression, support, and the sharing of personal experiences that can be therapeutic.
- Human Connection: Social networks cater to the innate desire for interaction, offering a space where people can feel seen, heard, and valued. They provide a platform for friendships, professional networking, and even romantic relationships, fostering a sense of community and support.
- Cultural and Social Impact: These platforms have the power to influence culture, politics, and social norms. They can become catalysts for change, providing a voice to the underrepresented, sparking movements, or shifting public opinion on various issues.
- Knowledge Exchange: They serve as vast repositories of knowledge where people can learn from each other, share expertise, and grow personally or professionally. This exchange can lead to innovation, problem-solving, and personal development.
- Legacy and Identity: For creators, building a social network can be a way to leave a digital legacy, shaping an online space that reflects their vision or values. It’s about creating something enduring that resonates with people, potentially defining a subculture or even influencing mainstream culture.
Now you know why you should create a social network. In the next section, we will show you how you can create a social network or community website with the help of WordPress.
How to Build a Social Network and Community Website?
WordPress doesn’t come with this function by default. So, we need to use a third-party plugin called FluentCommunity.
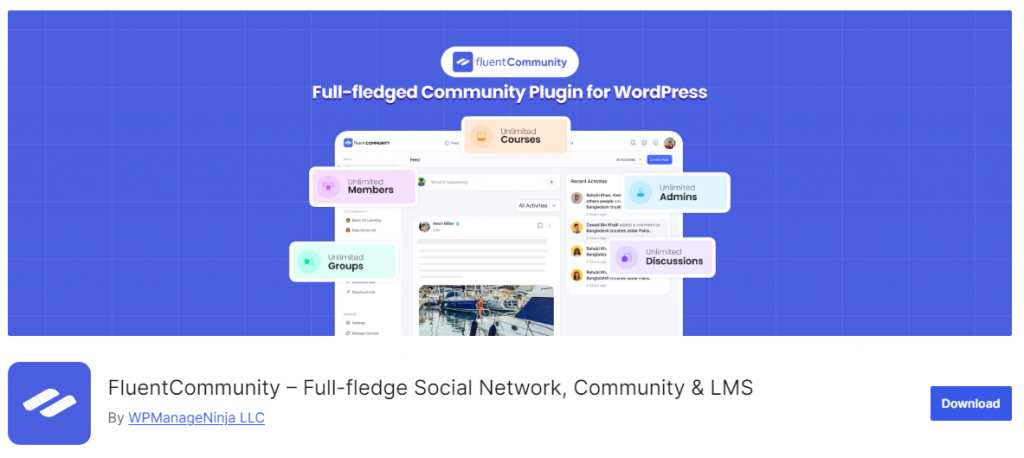
It is a free WordPress plugin that you can use to set up a social network. The first thing you need to do is install and activate this plugin on your website.
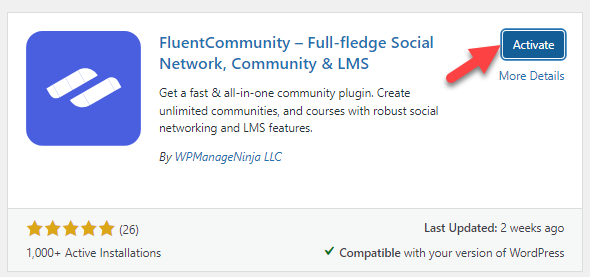
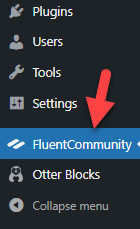
After activation, you can see the plugin’s settings on the left-hand side.
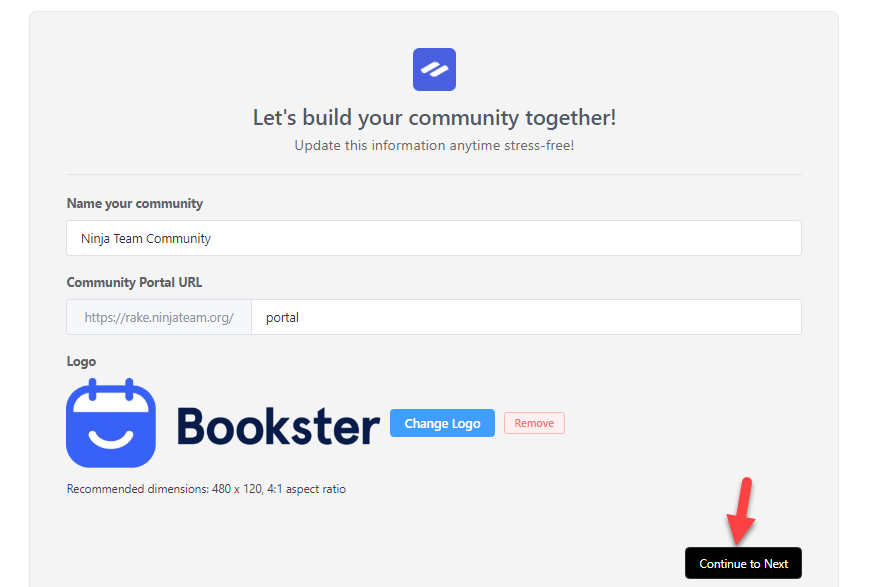
If you open the page, you will see three options.
- Community name
- Portal URL
- Logo
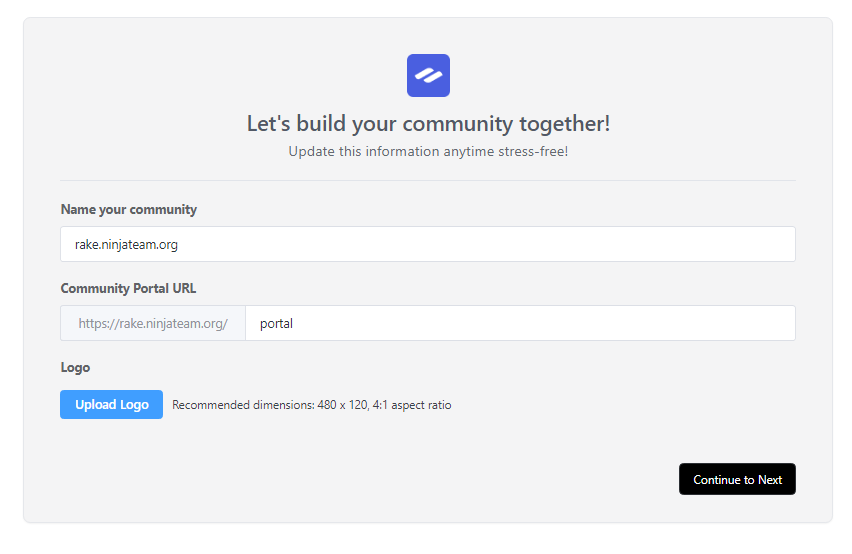
After adding those details, you can continue to the next page.
Next, you should choose a template for the community.

You can pick a template based on your requirements. Next, you will be redirected to the final settings page.
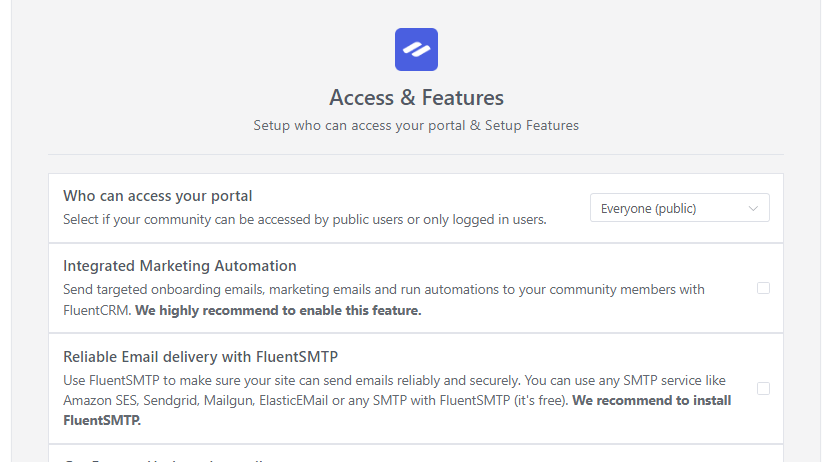
You can make the portal accessible to everyone or make it private which can be only accessed by logged-in users. Based on your preferences, you can choose an option. After choosing an option you like, save and finish the configuration.
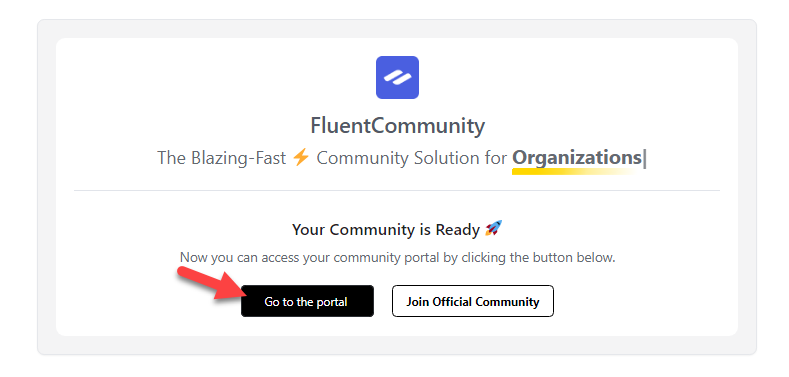
To view your community, click the go to the portal button.
In the front end, the community will look like this:

As you can see, the community has a clean interface and everything is accessible with ease. On the left-hand side, you can see the feed and the center area will show you the recent posts.
On the right-hand side, you can see recent activities and edit your profile. The next thing you need to do is customize how the community works.
If you go to the plugin’s settings page and scroll down, you can see all the editable options.
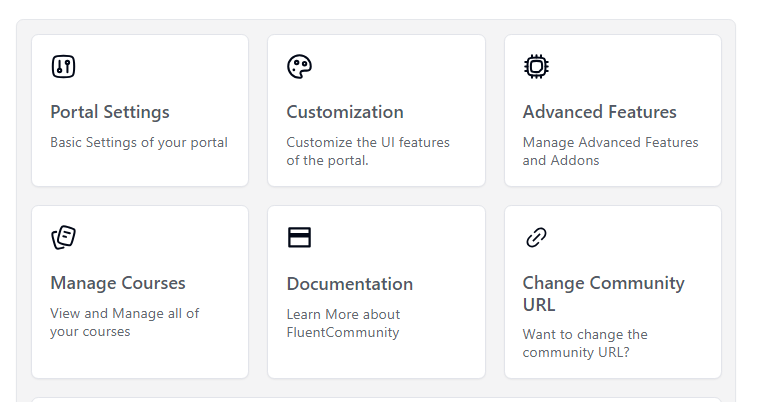
- Portal settings
- Customization
- Advanced features
- Manage courses
- Documentation
- Change community URL
Let’s take a closer look at each option.
Portal Settings
The portal settings page will show you every available configuration options.
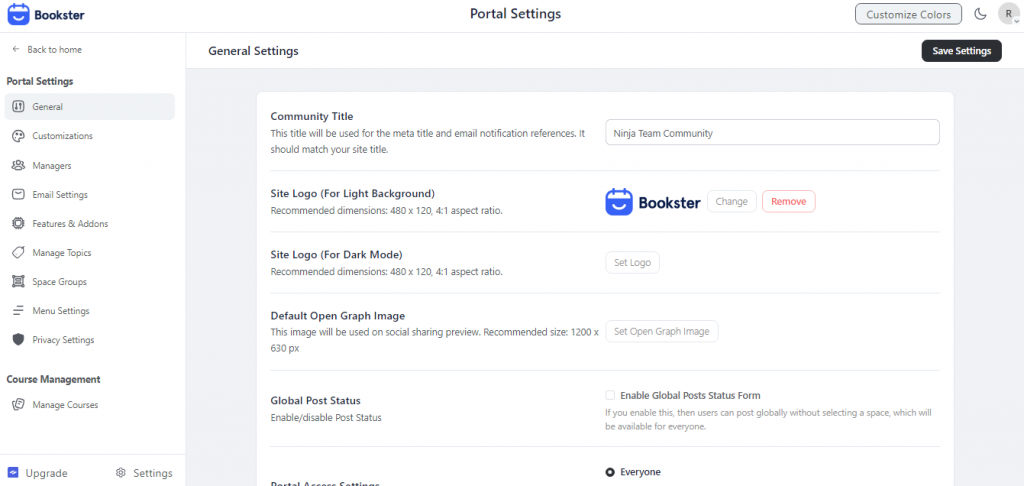
As you can see in the sidebar, the available configuration options are:
- General
- Customizations
- Managers
- Email Settings
- Features & Add-ons
- Manage topics
- Space groups
- Menu settings
- Privacy settings
You can open individual options and they will show you the available customization options.
For example, if you are not selling any courses, you can go to the menu option and disable it.
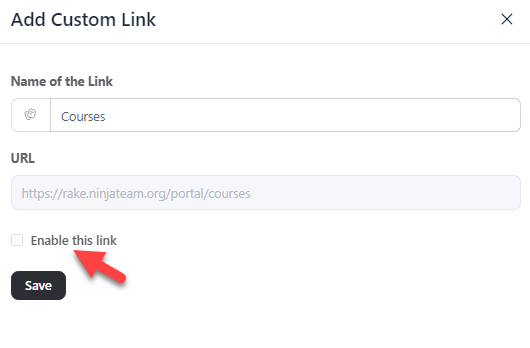
From now on, the course link won’t be displayed on the menu.
Advanced Features
If you go to the advanced settings section, you can see even more powerful customization options.
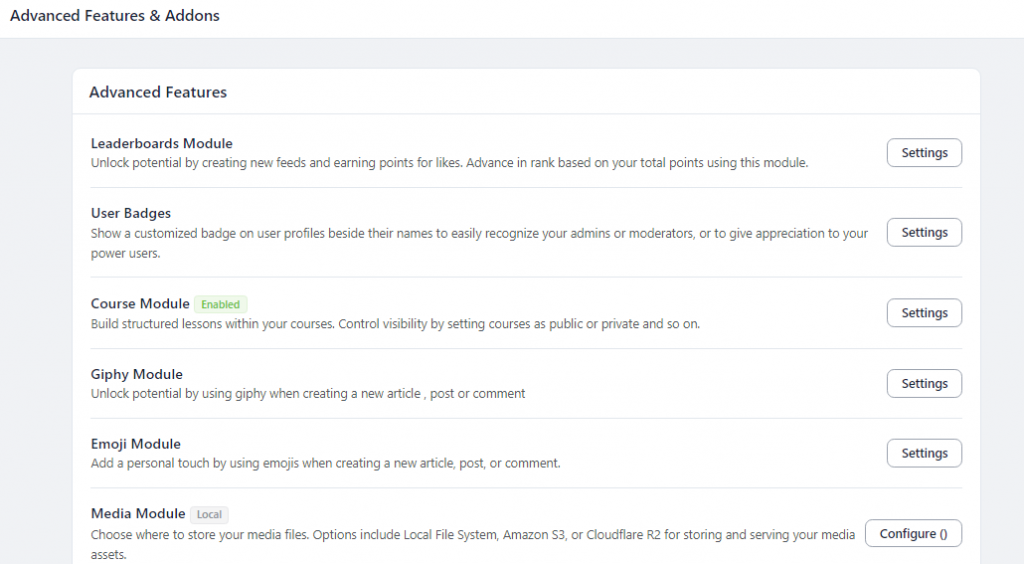
Most of those configurations are available only for the premium users. So, if you plan on upgrading to premium, you can use these options.
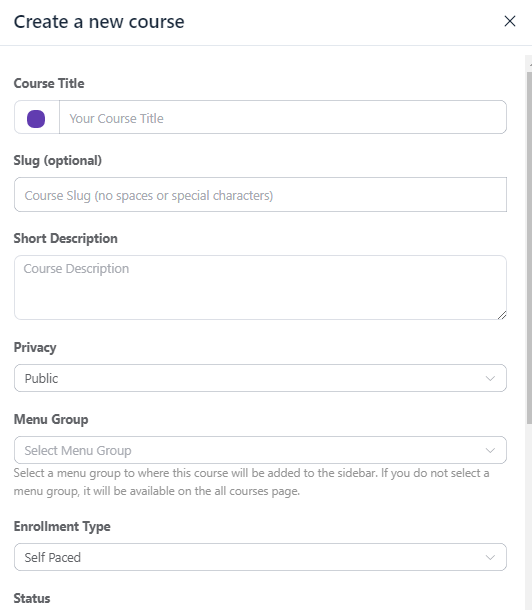
Manage Courses
Using this feature, you can create courses for your users.
Change Community URL
As you know, we have already configured a URL for the portal during the plugin’s setup. If you need to change that, you can use this function.
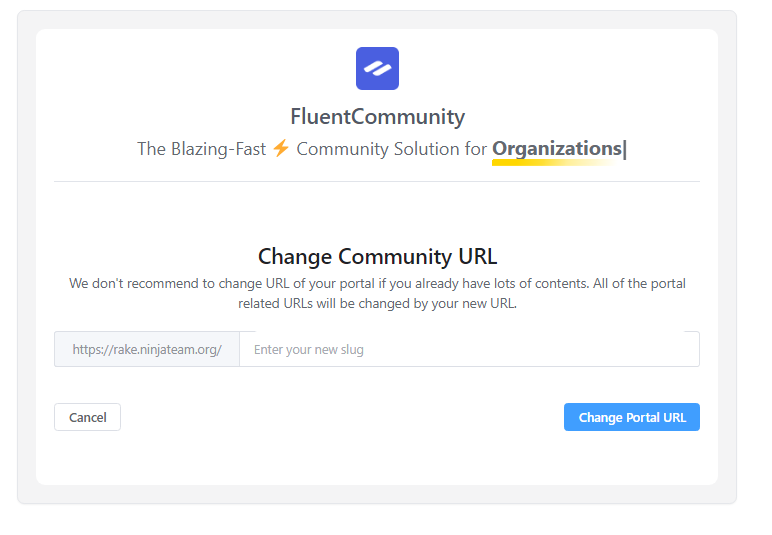
You can enter a new slug and save the changes.
That’s it!
This is how you can build a social network and community website with WordPress. As you can see in this tutorial, using the FluentCommunity plugin, you can easily create a community with WordPress.
Conclusion
In conclusion, WordPress offers a robust platform for building a community website or social network with ease.
By leveraging the right plugins and focusing on security and user engagement, you can create a dynamic space where your community thrives. Remember, the key to success lies in continuous interaction and adaptation to your community’s needs.
How would you promote your social network?
Let us know the promotional strategies in the comments below.
If you are looking for video content, feel free to check out our YouTube channel.
